E9安装手册

E9安装手册
時光E9安装手册
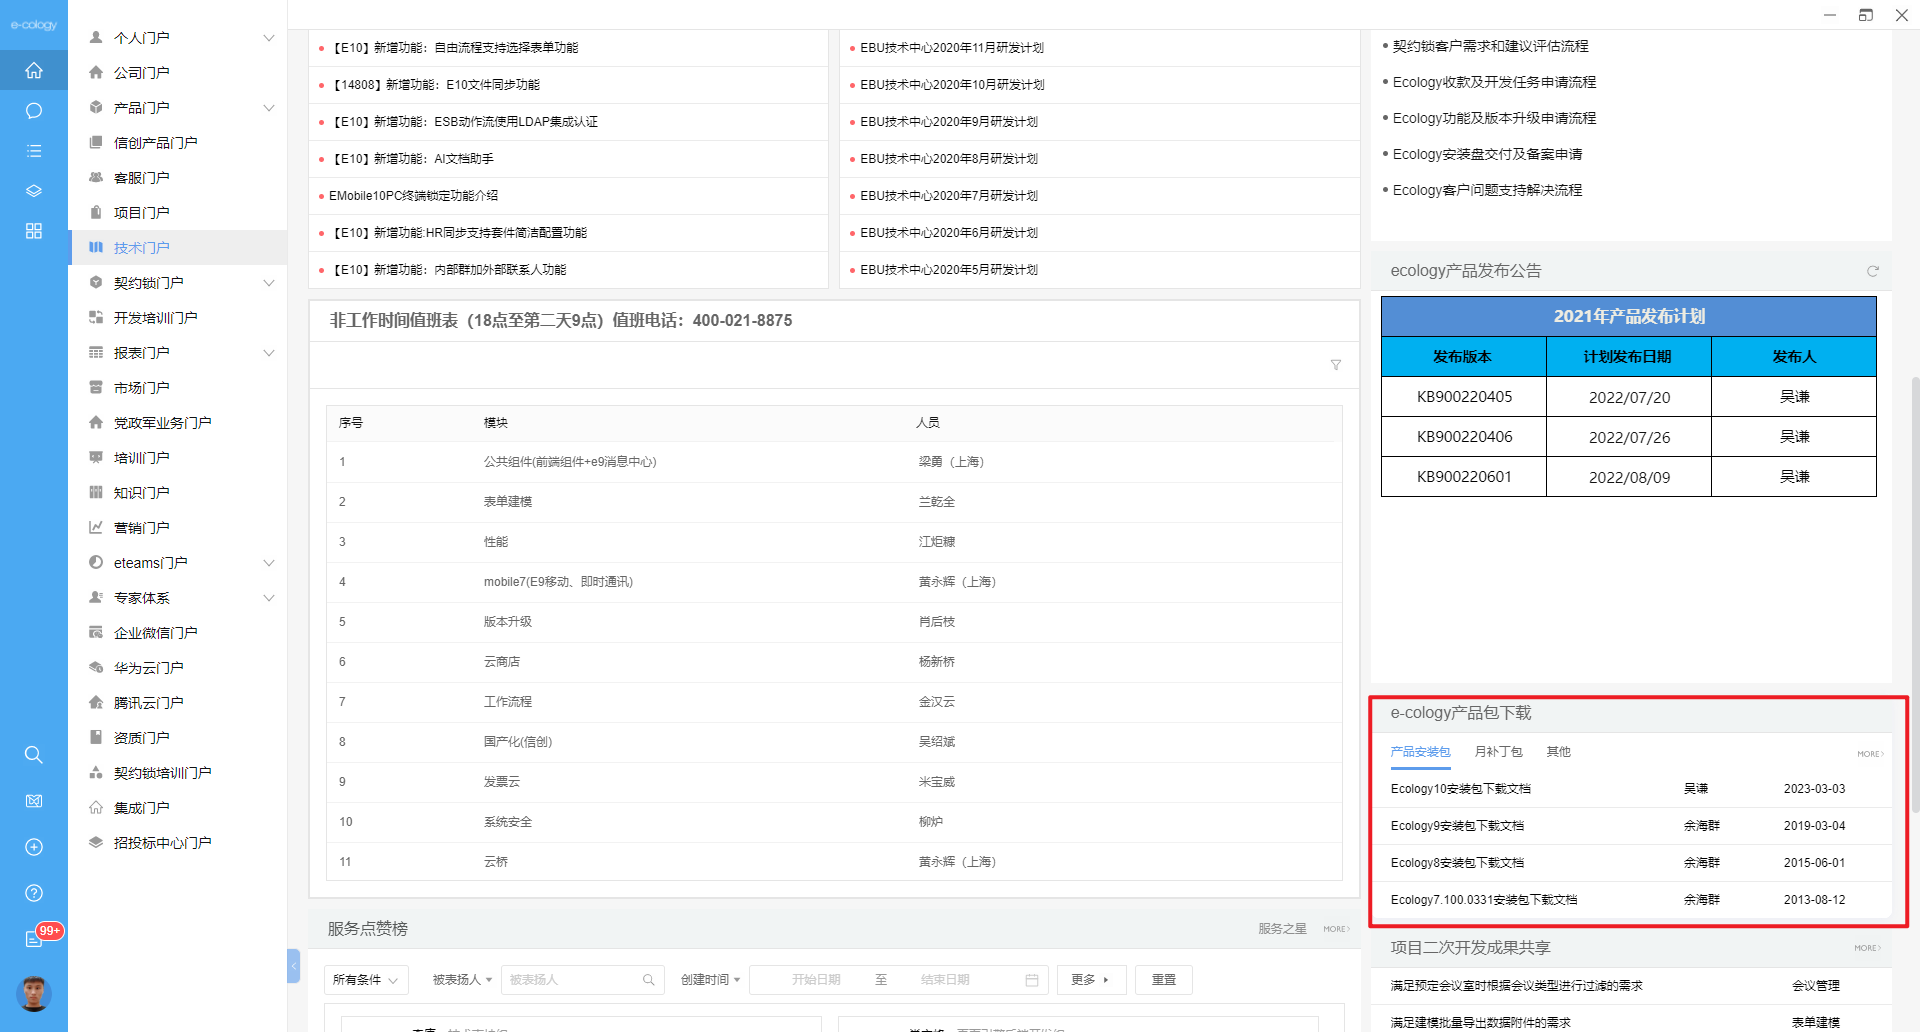
安装包获取
安装所需文件可在泛微emobile技术门户获取,泛微会定期维护
自动部署
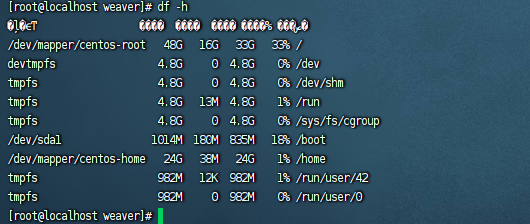
1、通过 SSH 工具连接上 linux,创建应用程序目录
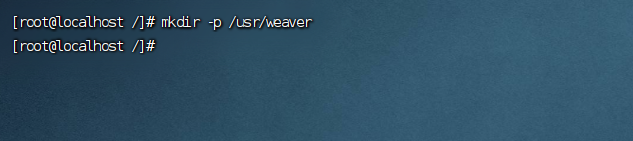
可根据客户实际要求创建在任何路径下,保证有足够的空间即可,相关命令为:
1 | mkdir -p /usr/weaver |
2、通过 FTP 工具上传程序
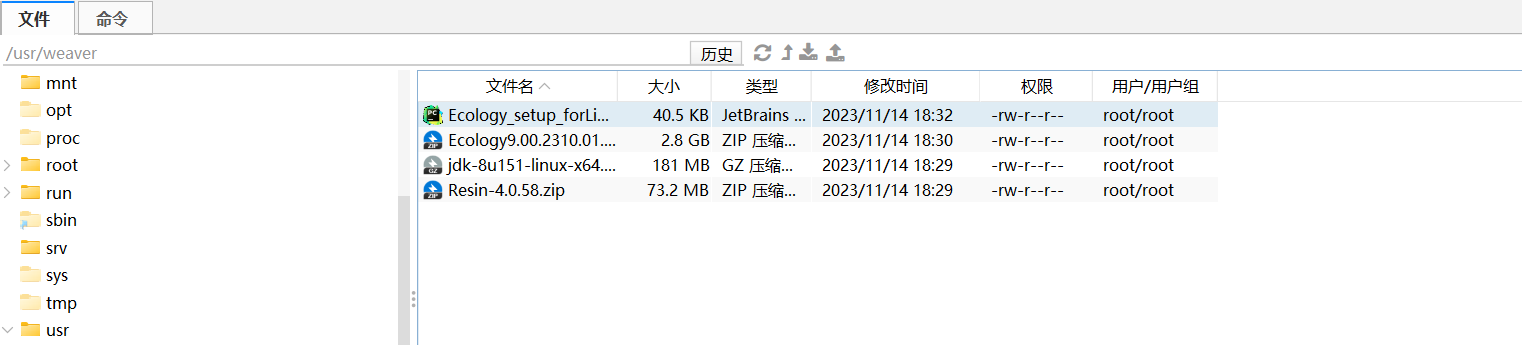
将本地的 ECOLOGY相关程序上传到创建好的 weaver 目录下。共四个,JDK,RESIN,ECOLOGY 和 Ecology_setup_forLinux_*.py 文件。(JDK 必须提前下载好)
3、执行 Ecology_setup_forLinux_*.py
即输入命令:python Ecology_setup_forLinux_*.py 回车,此处我使用的版本为v2.66
1 | python Ecology_setup_forLinux_v2.66.py |
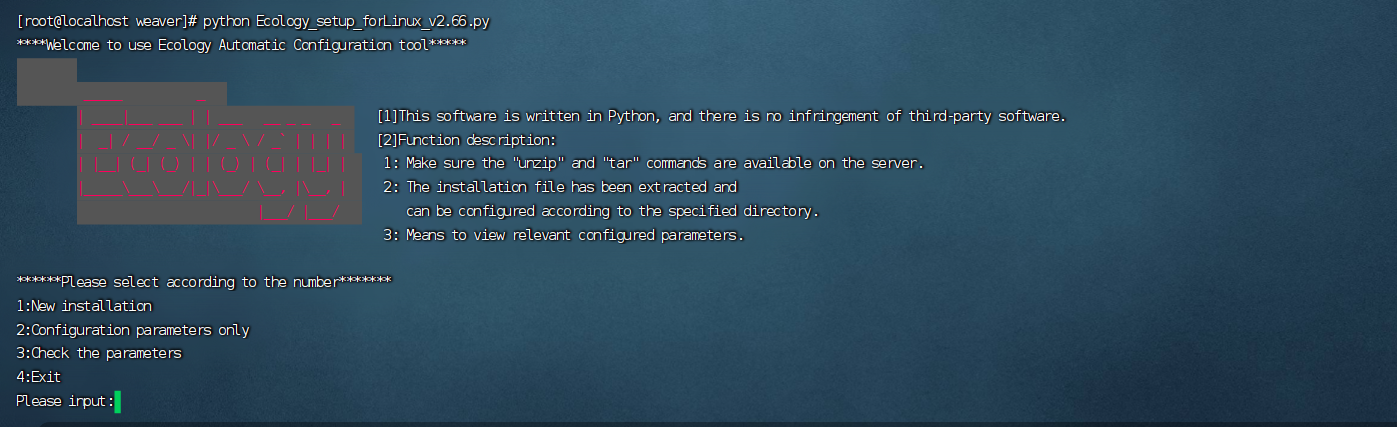
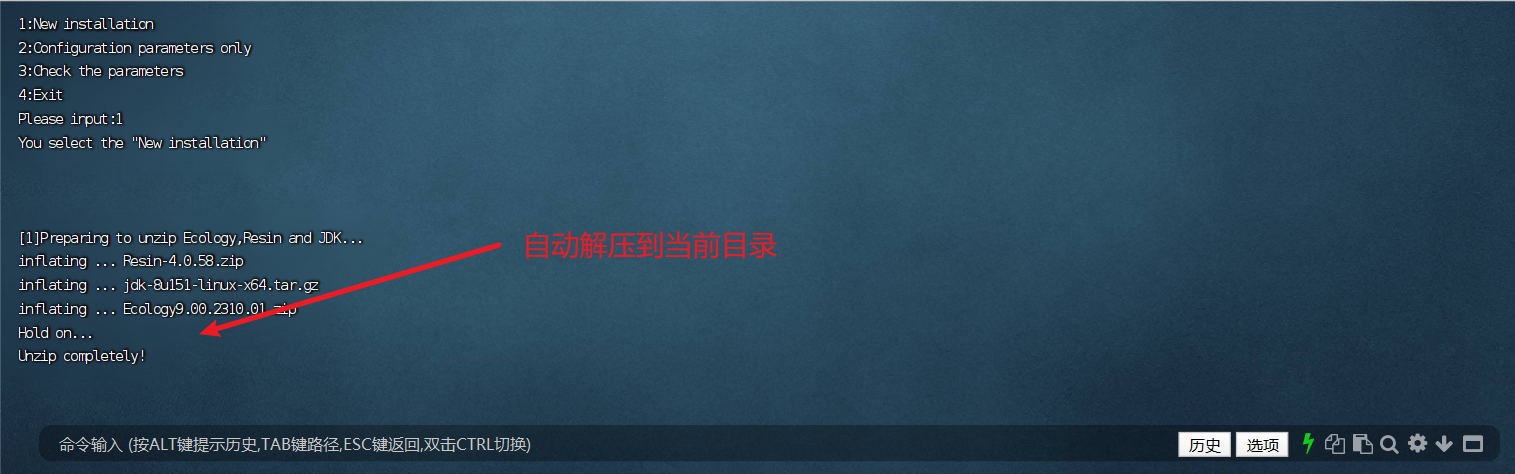
如果选择 1 自动执行以下三步操作:
第一步:解压缩。(Linux 必须支持 unzip 及 tar 命令,没有需要提前安装好,否则无法解压)
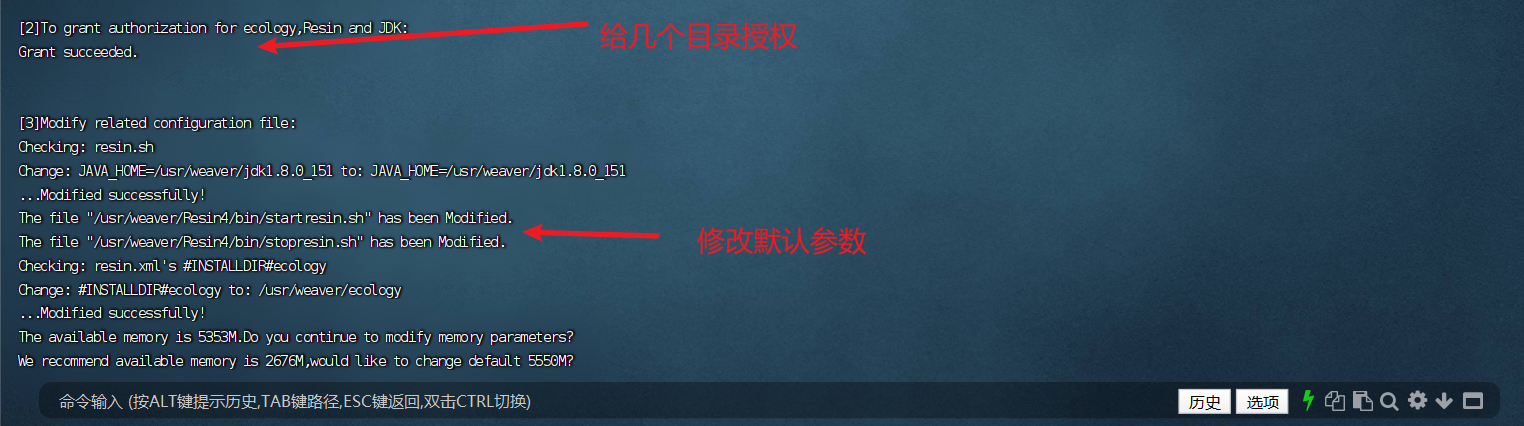
第二步:给 ecology、jdk、resin 三个目录赋权。
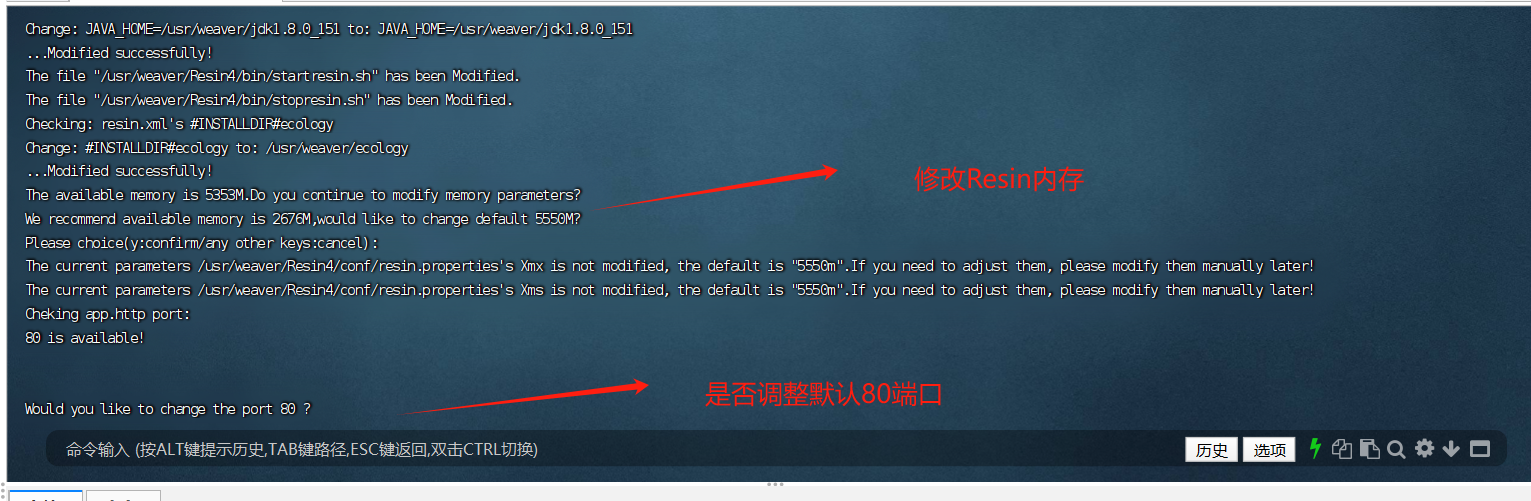
第三步:修改配置文件。设置路径、内存、端口。(内存和端口可在安装过程中进行调整)。
如果选择 2 自动解压缩失败可在手动解压好的情况下,进行第二步和第三步配置。
如果选择 3 查看配置好的相关参数,仅查看,若要调整,可再选择 2 或手动调整。
此处输入1
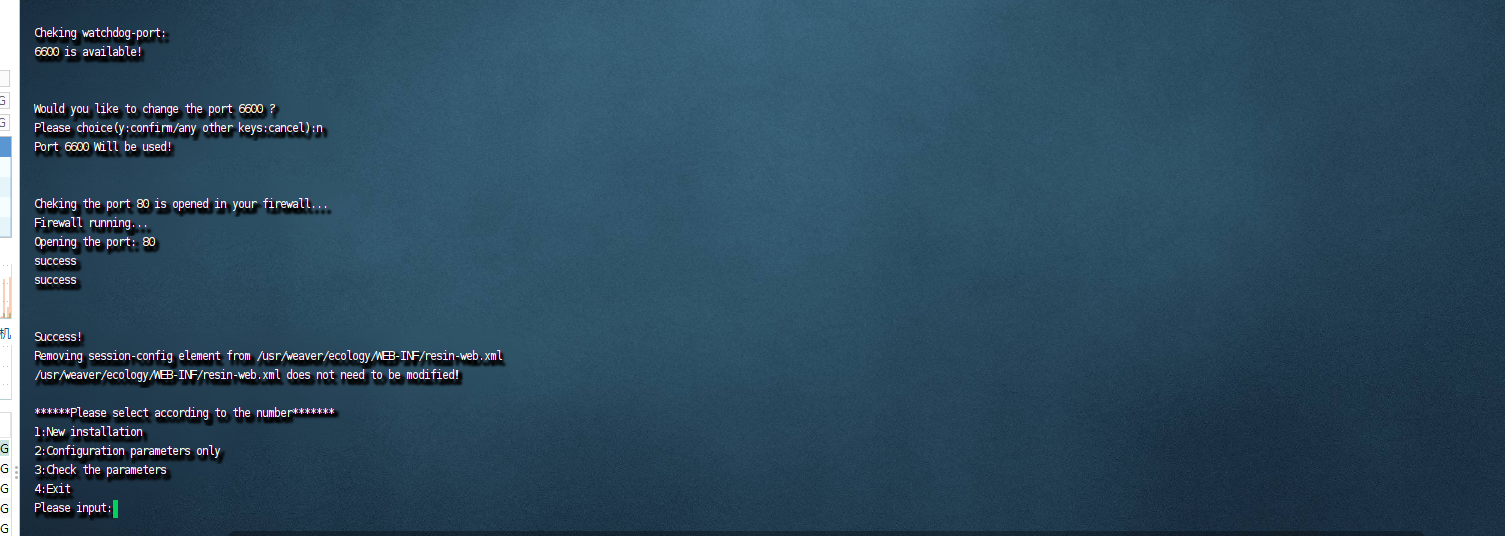
本页面为配置完成后,切换到 Resin4/bin (或者Resin/bin) 目录后,启动 resin 服务。
1 | cd /usr/weaver/Resin4/bin |

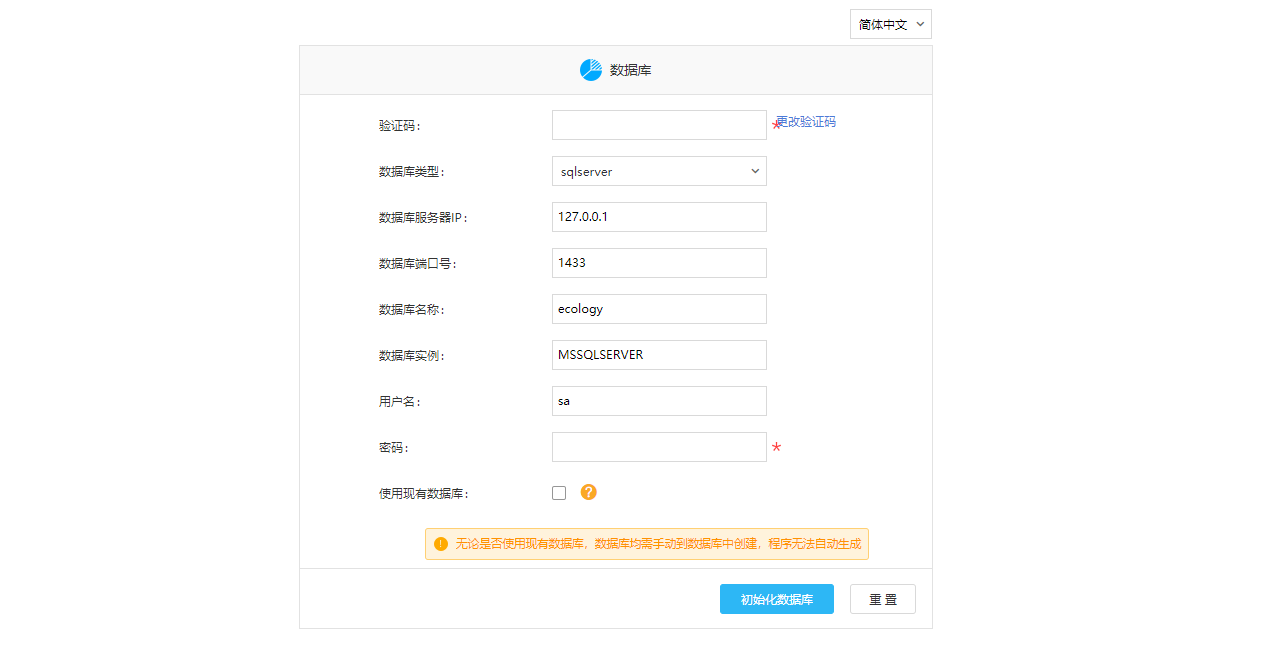
服务启动好后,访问服务器ip及刚才设置的端口即可进入数据库初始化页面
能打开此页面代表Resin服务部署成功
如果 自动部署操作不成功,那就只能手动部署。
手动部署
(1)端口(三个端口)
http 端口(Resin/conf/resin.properties)浏览器访问时用到的端口,根据实际调整
1 | app.http : 80 |
server 端口(Resin/conf/resin.properties)默认不需要修改
1 | app_servers : 127.0.0.1:6800 |
watchdog 端口(Resin/conf/resin.xml)默认不需要修改
1 | <server-multi id-prefix="app-" address-list="${app_servers}" port="6800"> |
(2)内存(Resin/conf/resin.properties)
根据实际可用内存调整,不要低于 3550
1 | # Arg passed directly to the JVM |
(3)路径(两个路径)
JDK 路径(Resin/conf/resin.xml)根据实际调整
官方部署文档:
1 | <!-- |
我本地实际为:
1 | <!-- |
应用程序路径(Resin/conf/resin.xml)根据实际调整
<web-app id="/" root-directory="/usr/weaver/ecology">
官方部署文档:
1 | <!-- the default host, matching any host name --> |
我本地实际为:
1 | <host id="" root-directory="."> |
(4) 服务(三个文件)
resin.sh(Resin4/bin/resin.sh)根据实际设置 JDK 路径
JAVA_HOME=/usr/weaver/jdk1.8.0_151
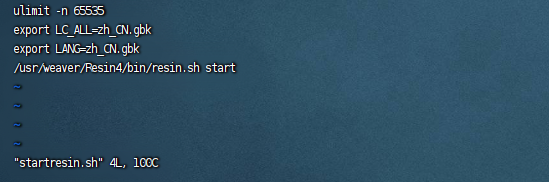
startresin.sh(Resin4/bin/startresin.sh)根据实际设置 resin.sh 路径
ulimit -n 65535
export LC_ALL=zh_CN.gbk
export LANG=zh_CN.gbk
/usr/weaver/Resin4/bin/resin.sh> start
stopresin.sh(Resin4/bin/stopresin.sh) 根据实际设置 resin.sh 路径
/usr/weaver/Resin4/bin/resin.sh stop
(5) 检查字符集
不建议修改,修改后Linux环境会乱码,可跳过
检查当前系统是不是使用 zh_CN.gbk
1 | env | grep LANG |

若不是 zh_CN.gbk 字符集,则通过 export LANG=zh_CN.gbk 命令来指定

这种方式在重启系统后将失效,若要一直有效,可编辑/etc/profile 文件
在最后添加 export LANG=zh_CN.gbk
(6)对目录赋予权限
对Resin 和 jdk 目录使用 chmod +x 赋予可执行权限
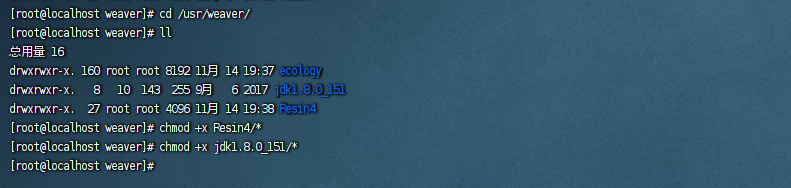
命令如下
1 | cd /usr/weaver/ |
(7)检查文件格式
(在 windows 下编写的脚本文件,放到 Linux 中无法识别)
切换到Resin的bin目录,使用 vi命令查看shell脚本内容
1 | cd /usr/weaver/Resin4/bin |

显示内容如下
如果是这个结果,则代表文件格式是正确的,直接输入:q! (冒号+q+感叹号表示不保存修) 改直接退出 vi 操作
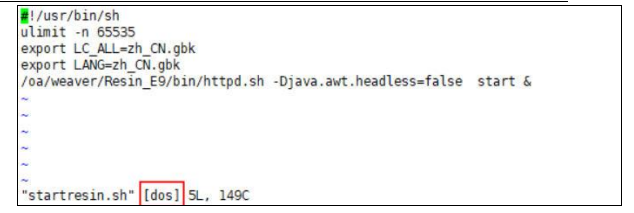
如果是这个结果,则代表文件格式是错误的,需要转换格式,否则无法启动
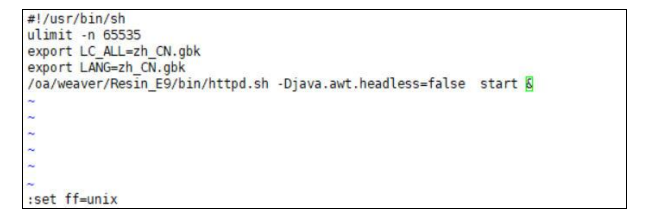
输入:set ff=unix (冒号+set+空格+ff 等于 unix 表示把文件格式由 dos 转换为 unix)
回车后再输入:wq (冒号+w+q 表示保存之前的修改并退出 vi 操作)
除了 startresin.sh 外,resin.sh 和 stopresin.sh 也必须检查,保证文件格式正确
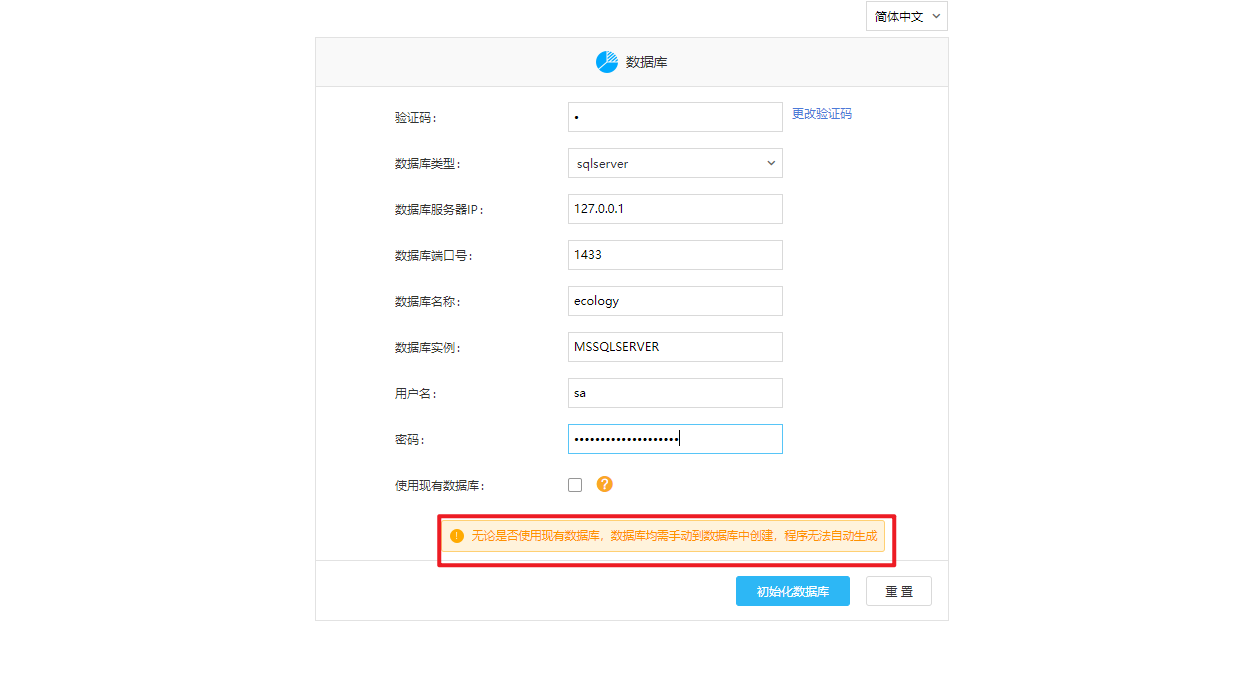
初始化数据库
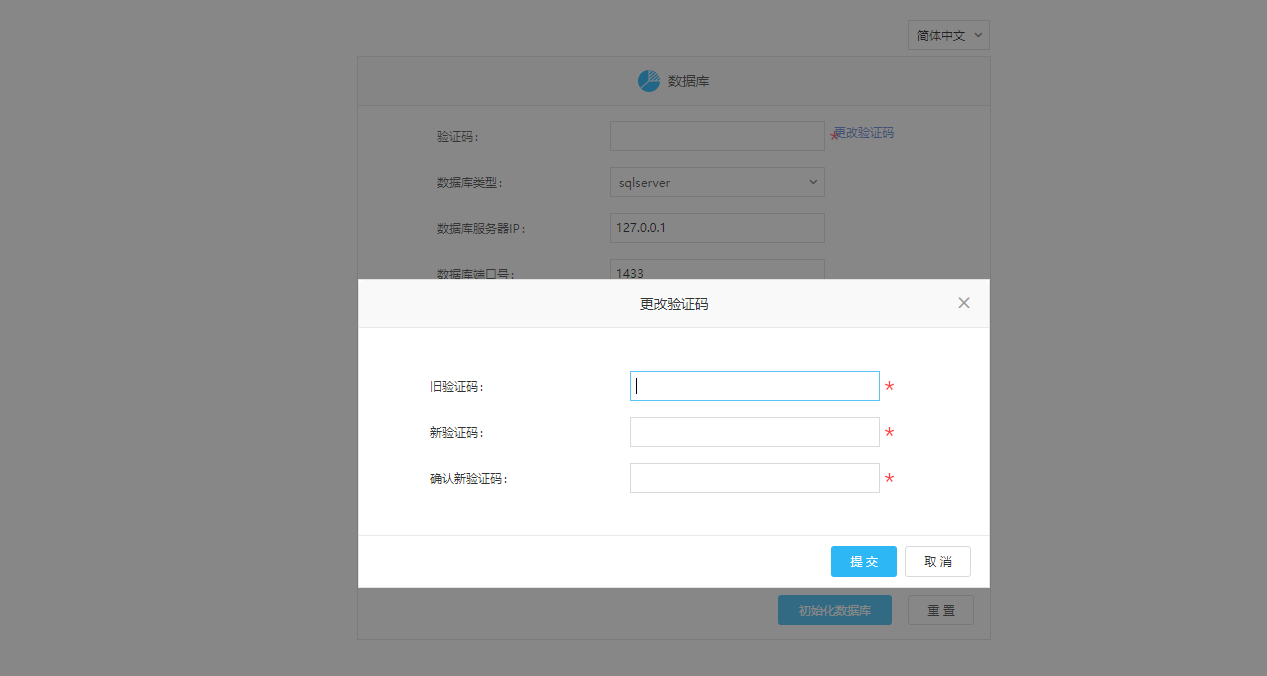
修改验证码
为方便记忆及日后license维护,可以修改验证码默认值为1
验证码默认值为wEAver2018可在文件 ecology\WEB-INF\code.key 中查看

可直接修改code.key 文件,也可通过初始化页面修改
创建数据库
因为无论是否使用现有数据库,数据库均需手动到数据库中创建,程序无法自动生成
手动创建数据库
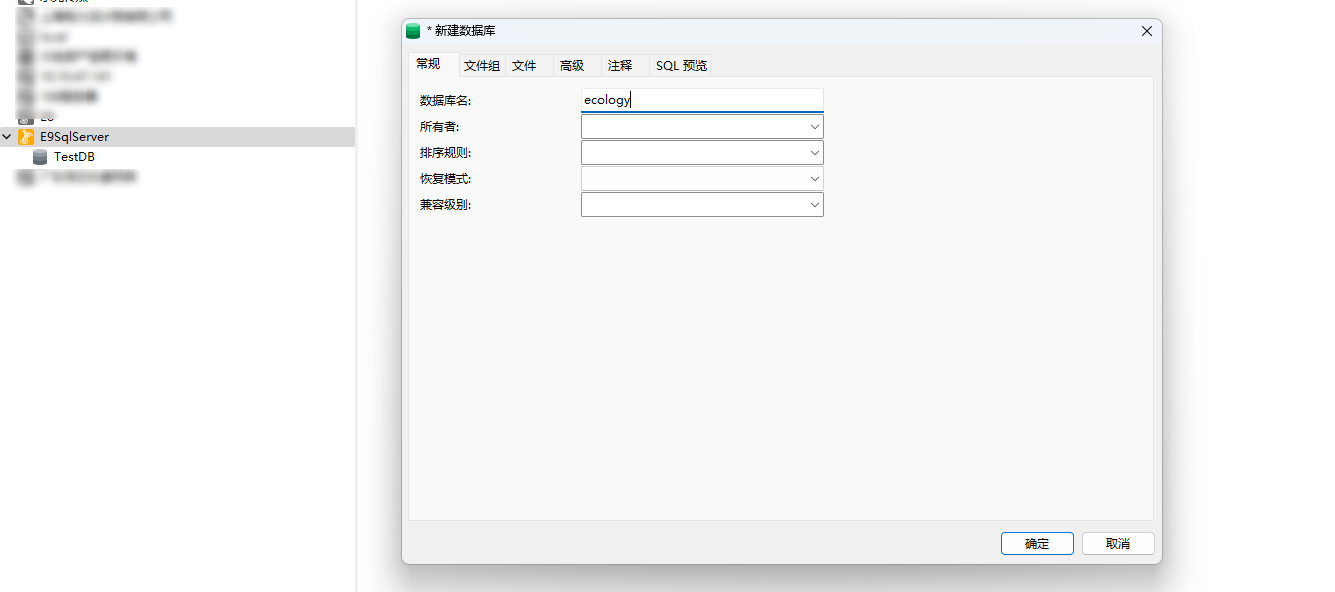
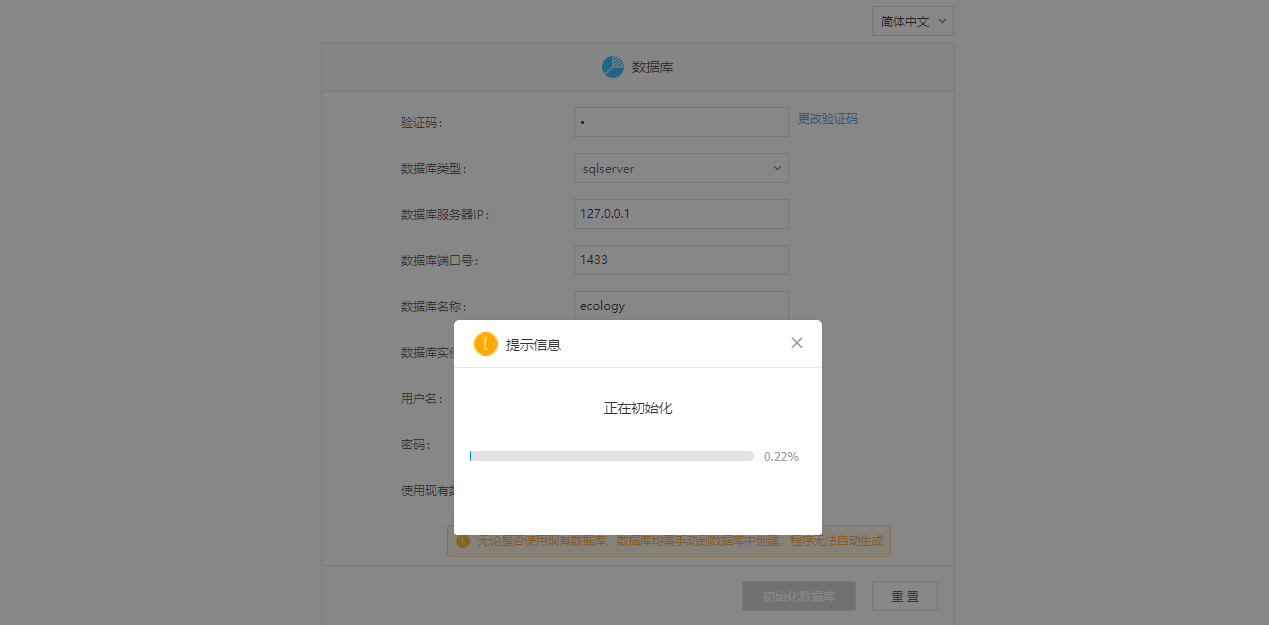
创建好后即可开始初始化数据库,初始化耗时较长,需耐心等待
若想重新初始化数据库将ecology\WEB-INF\prop\weaver.properties文件内容清空
重启服务后重新访问OA地址即可重新进入初始化界面
当然,也可直接修改数据库连接地址,数据库名,用户名,密码等配置信息
数据库初始化完成之后重新登录系统即可,管理员初始密码为 Weaver@2001,可通过sql改为1
1 | -- 将用户登录密码改为1 默认密码 Weaver@2001 |
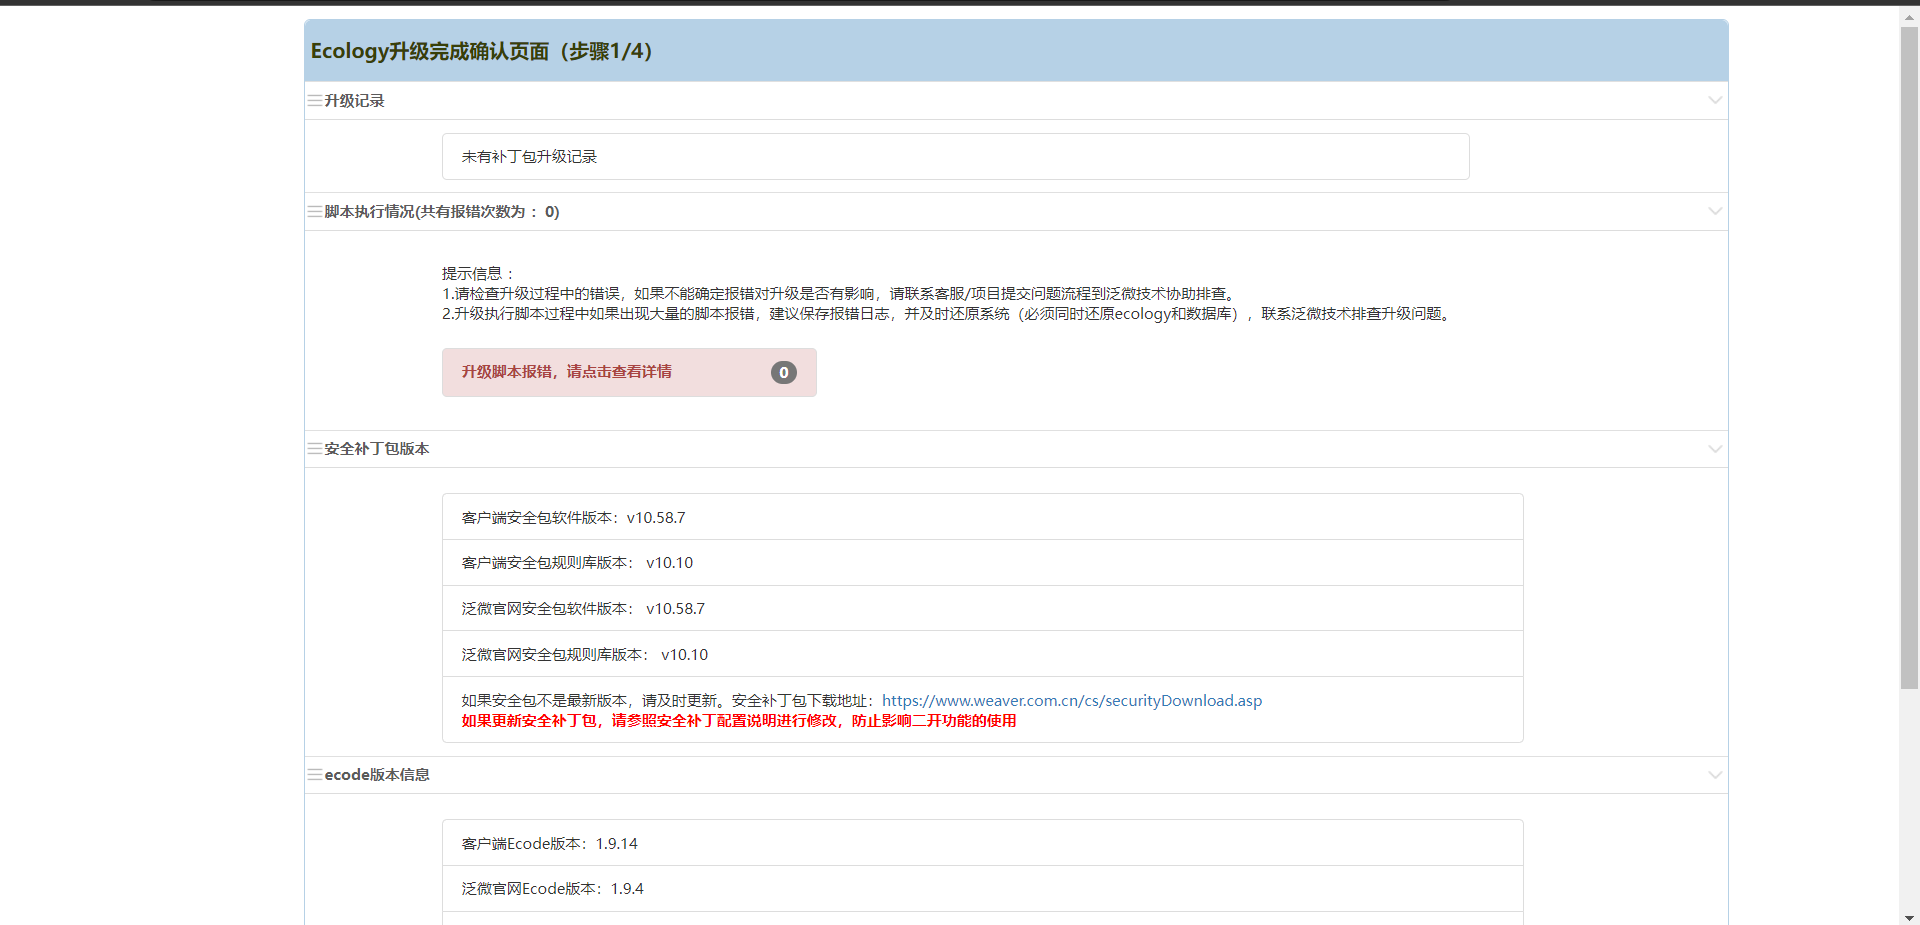
首次登录需要提交license授权文件,授权后会进入Ecology升级确认页面,按操作指引操作即可
启用非标功能
申请非标包
可通过Ecology功能及版本升级申请流程 申请本地DEMO非标包
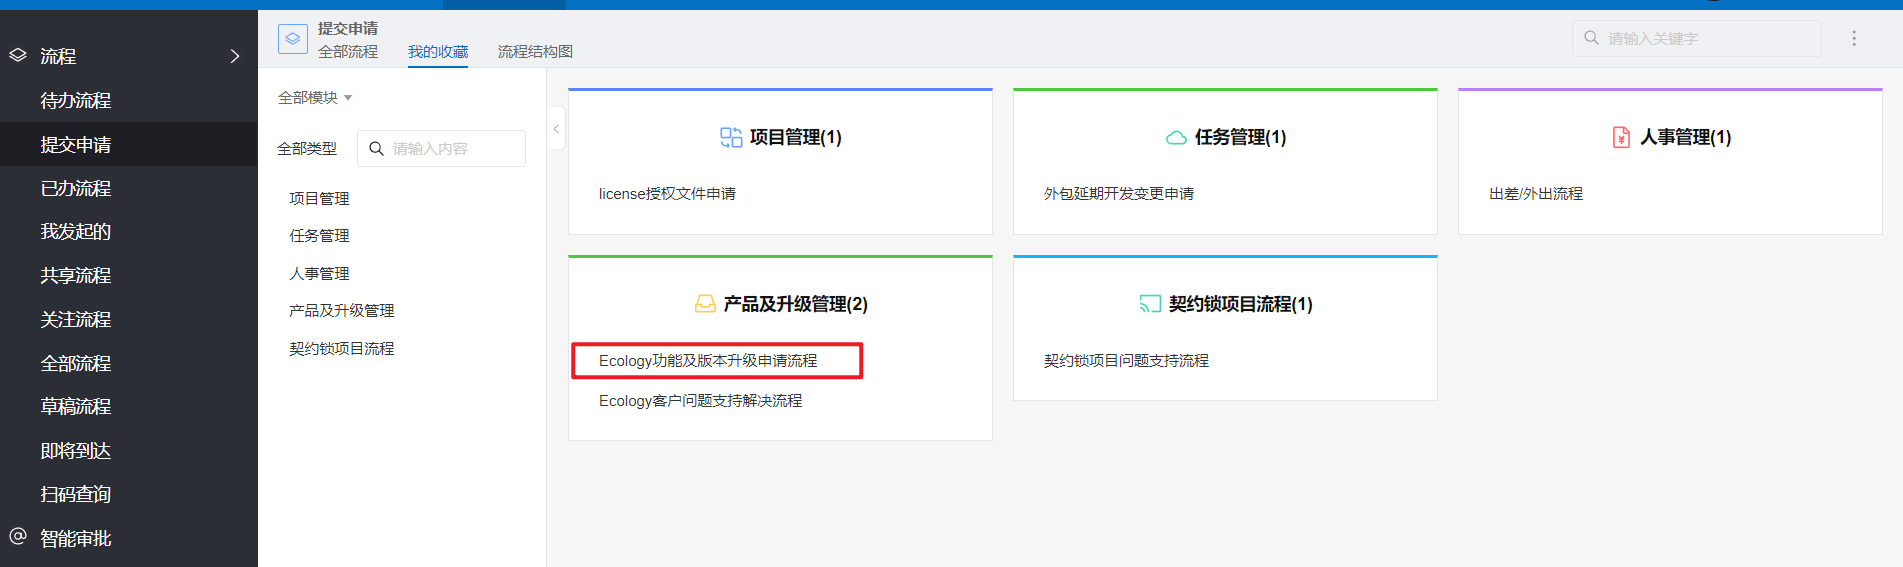
申请时需注意以下信息
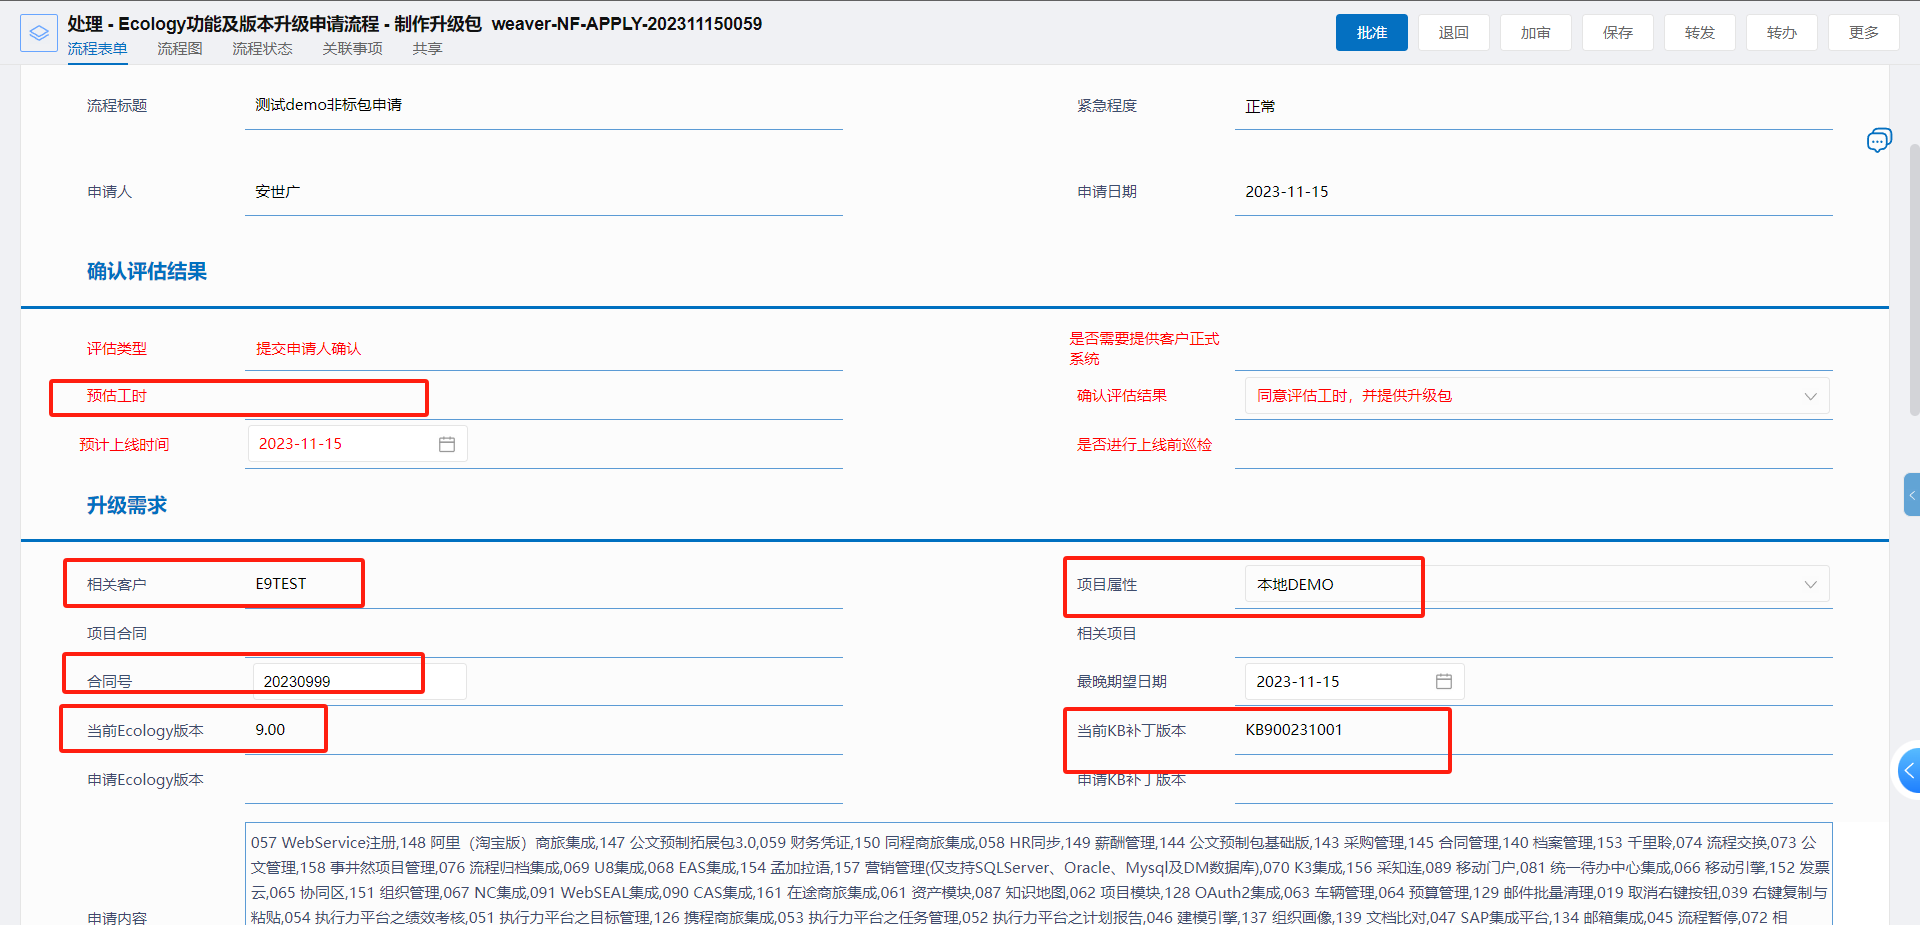
升级非标
将非标包解压后直接覆盖到ecology目录,重启Resin服务
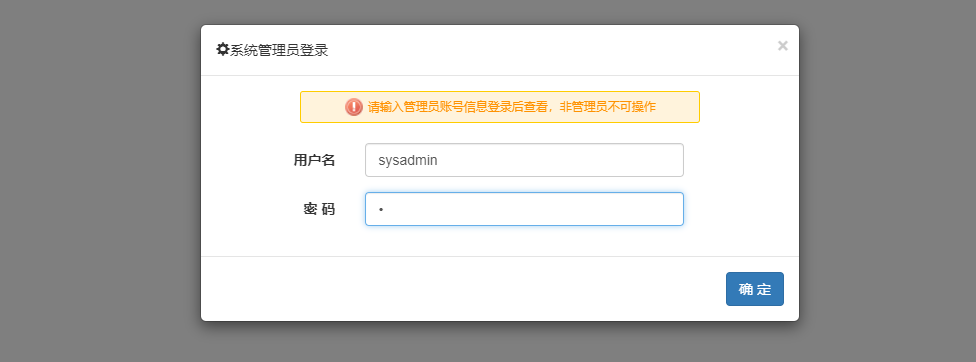
重启后重新访问OA进入升级页面

使用系统管理员账号登录,进行升级操作
填写数据库地址后六位信息及数据库名后三位
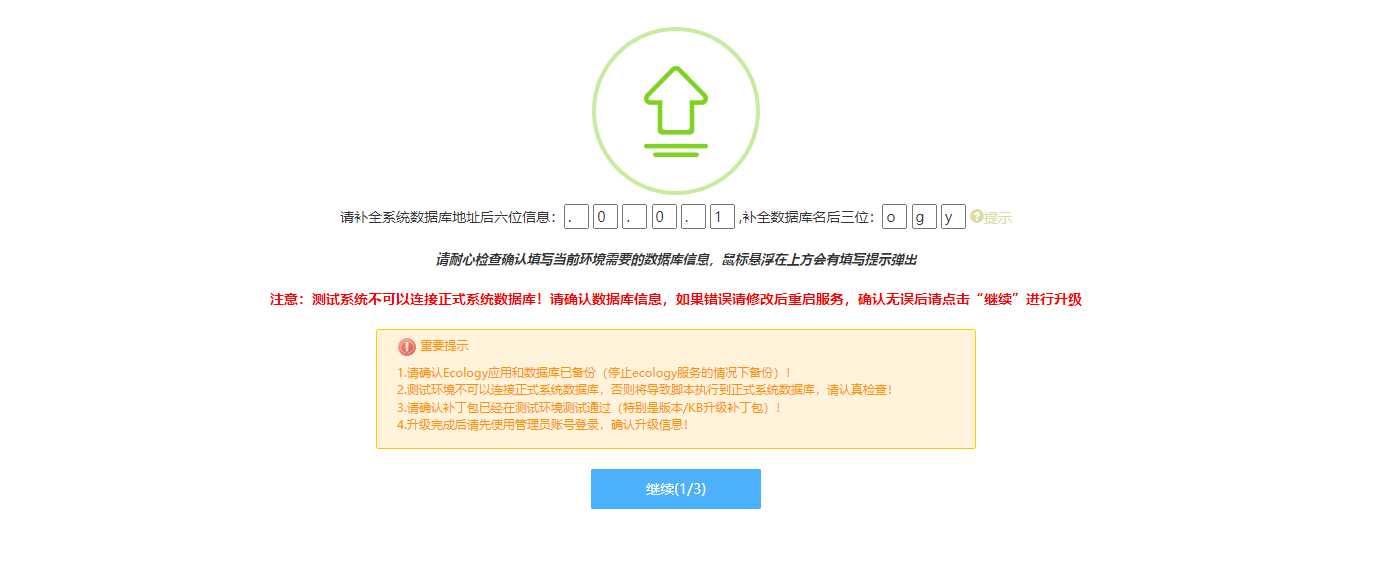
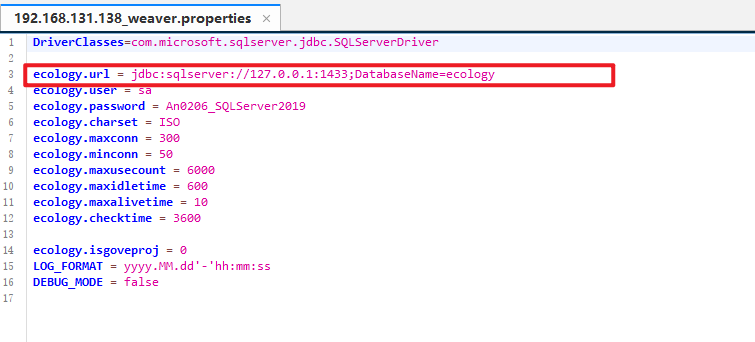
详细信息可在 ecology/WEB-INF/prop/weaver.properties 中查看
以我本地服务为例,数据库地址为 127.0.0.1,后六位为 .0.0.1;数据库名为ecology,后三位为ogy
重要提醒确认
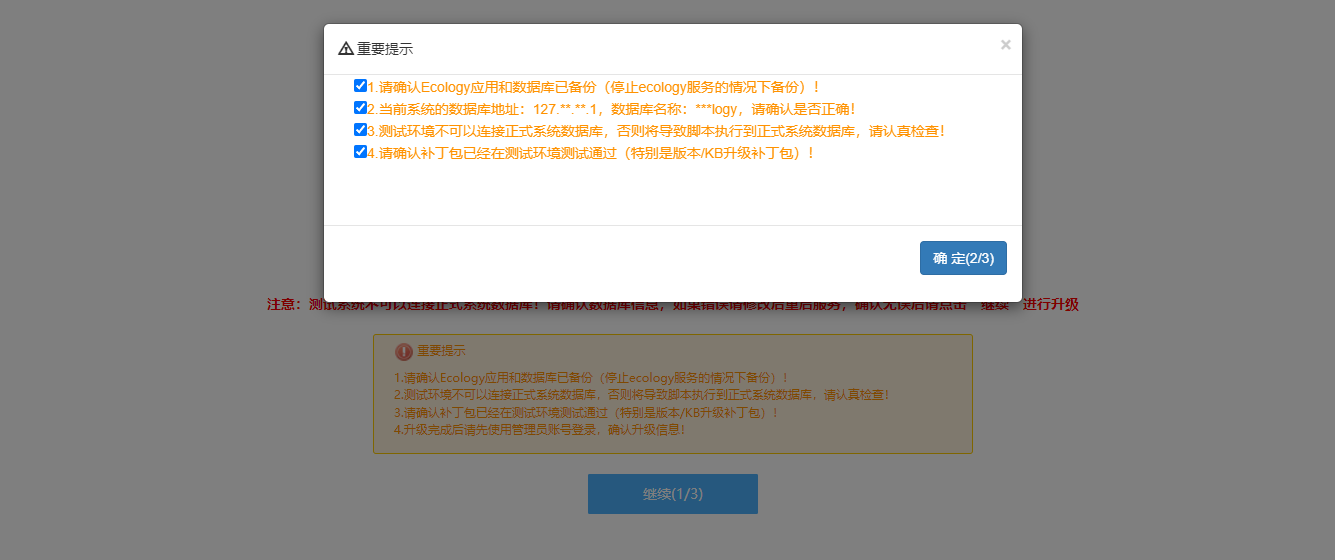
确认其他配置
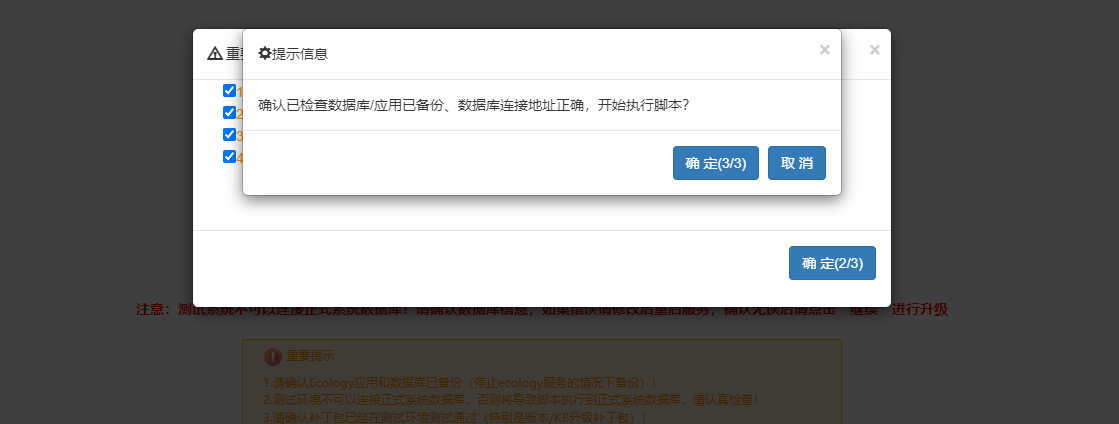
点击确定后开始执行sql脚本
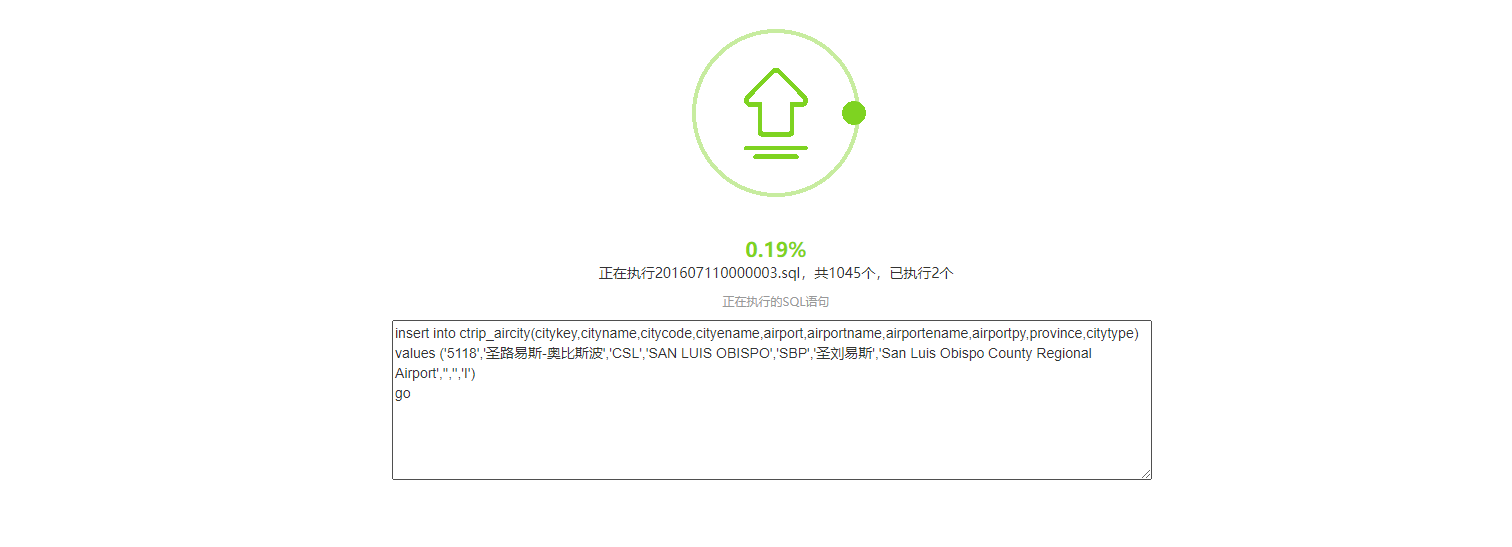
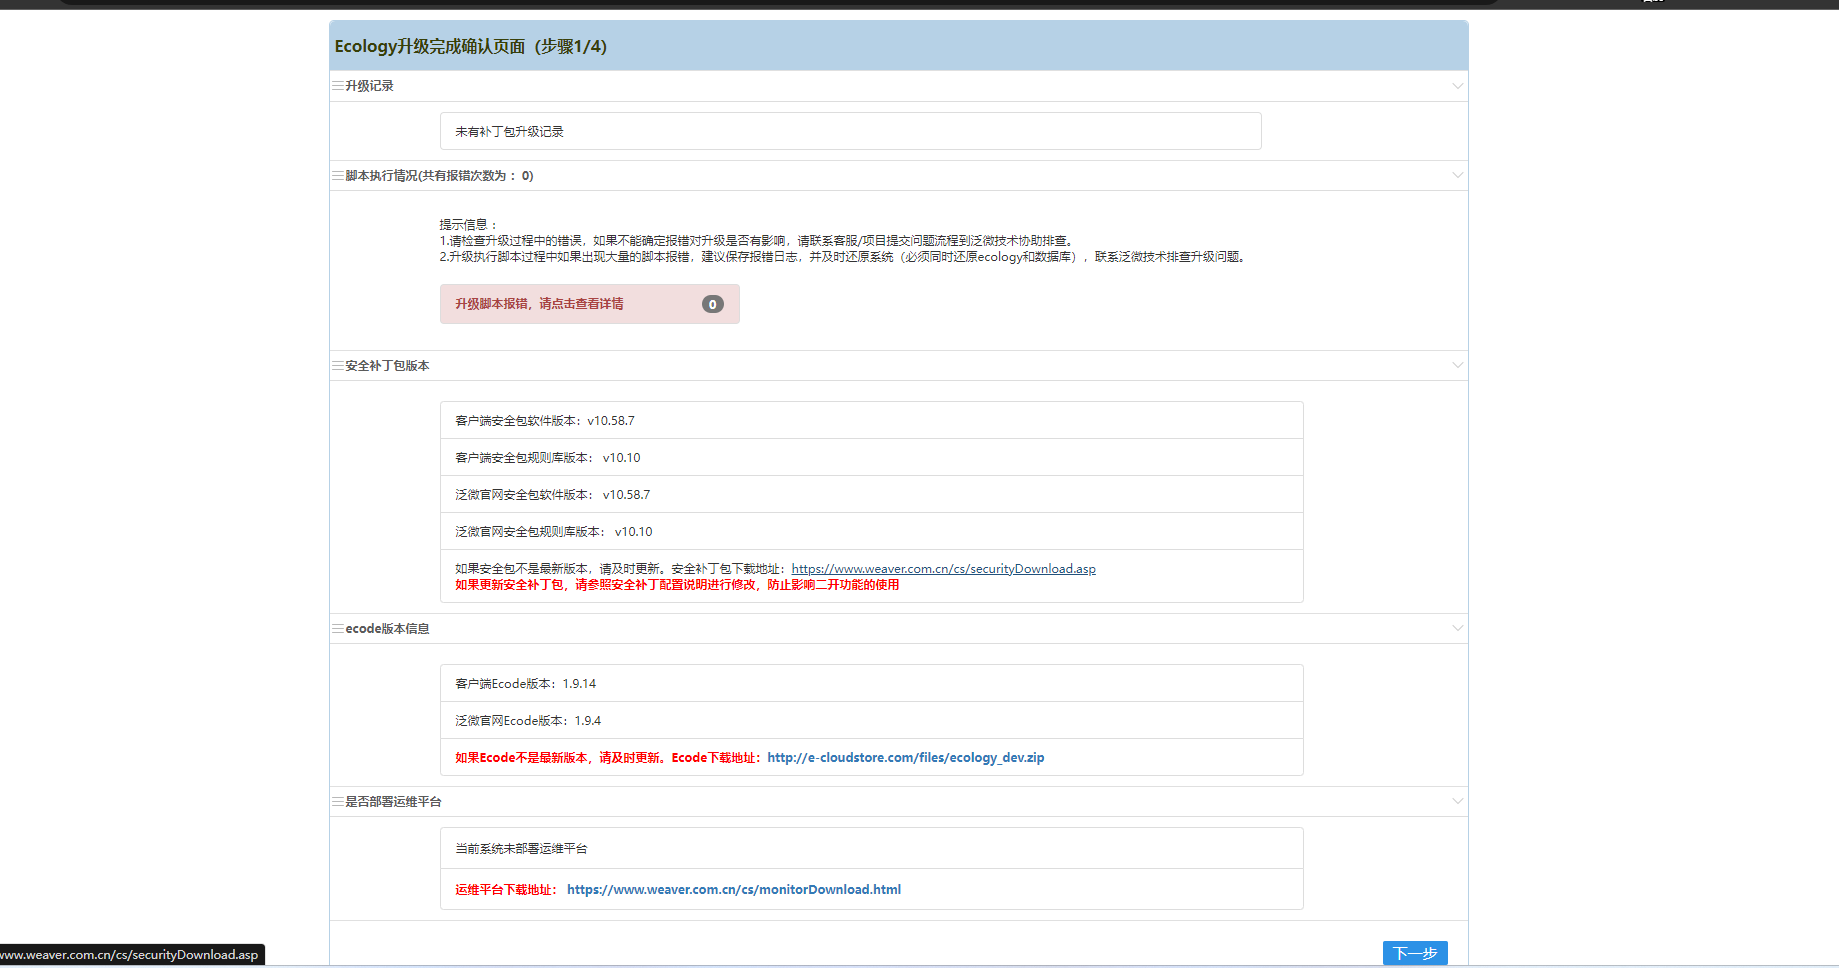
脚本执行完毕后重新登录OA进入Ecology升级完成确认页面,按照操作指引一次点击下一步即可
启用非标
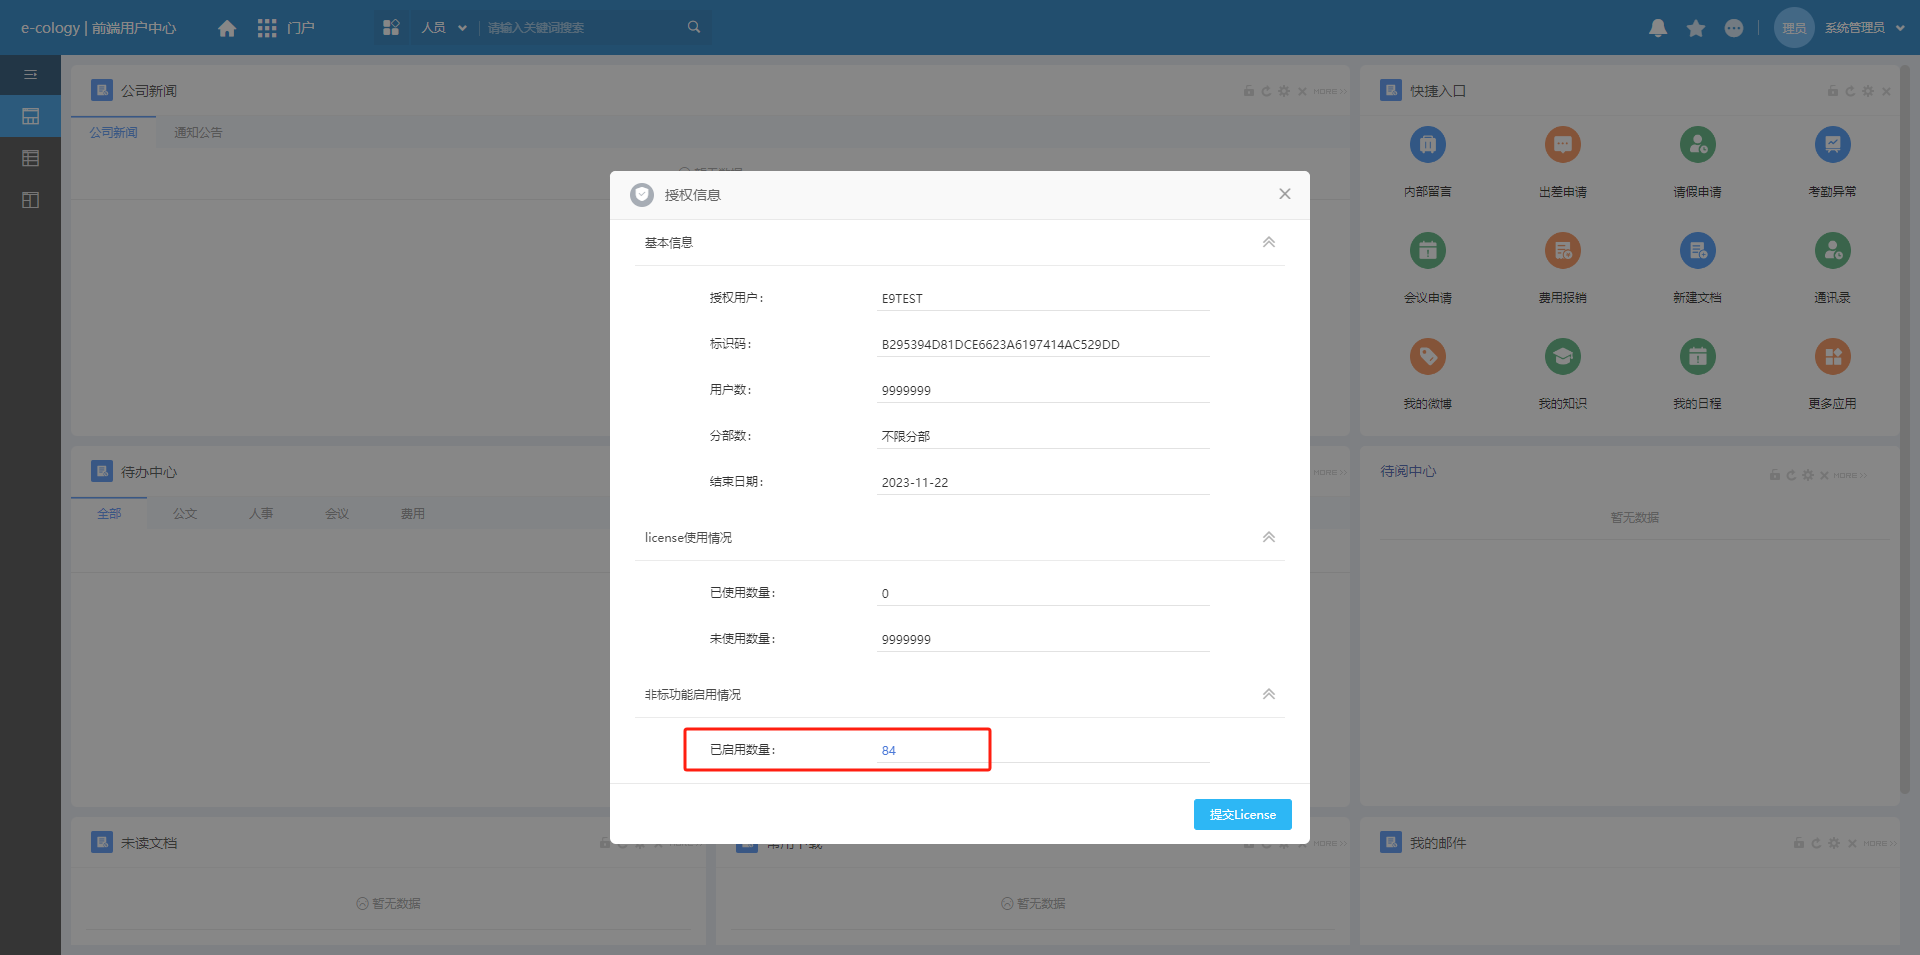
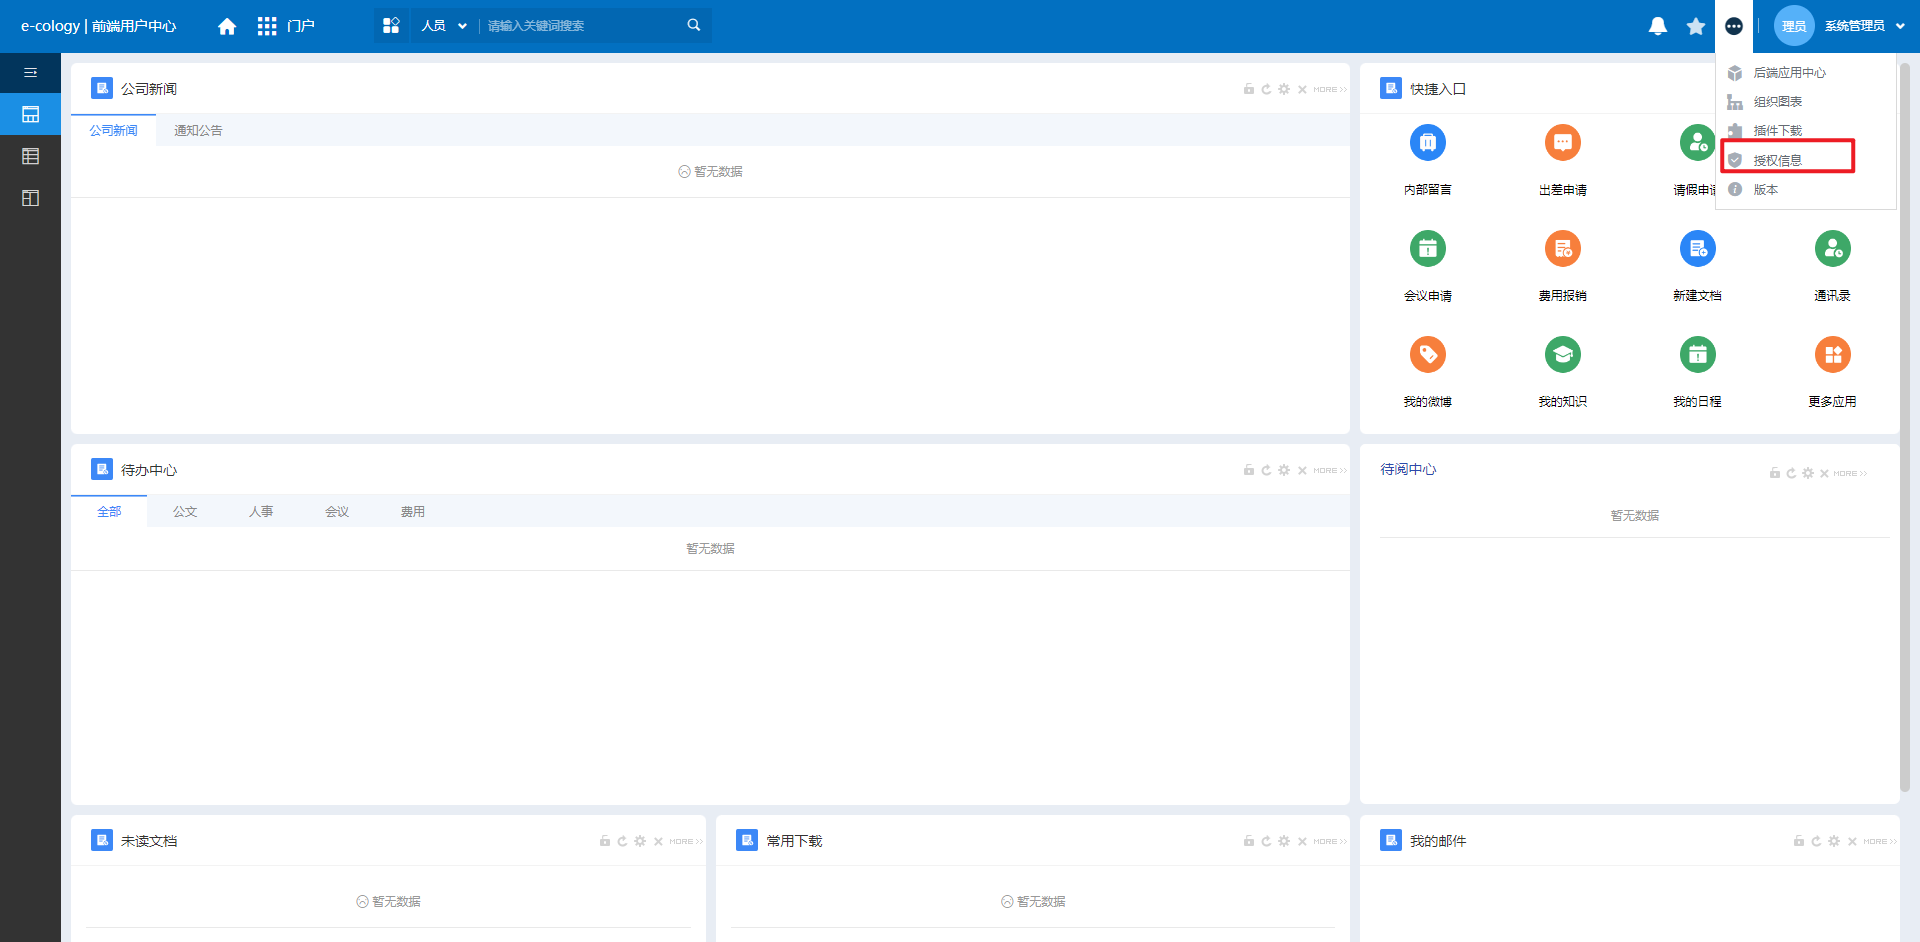
使用系统管理员登录OA后右上角设置按钮点击授权信息
此时非标功能启用情况已启用数量为0
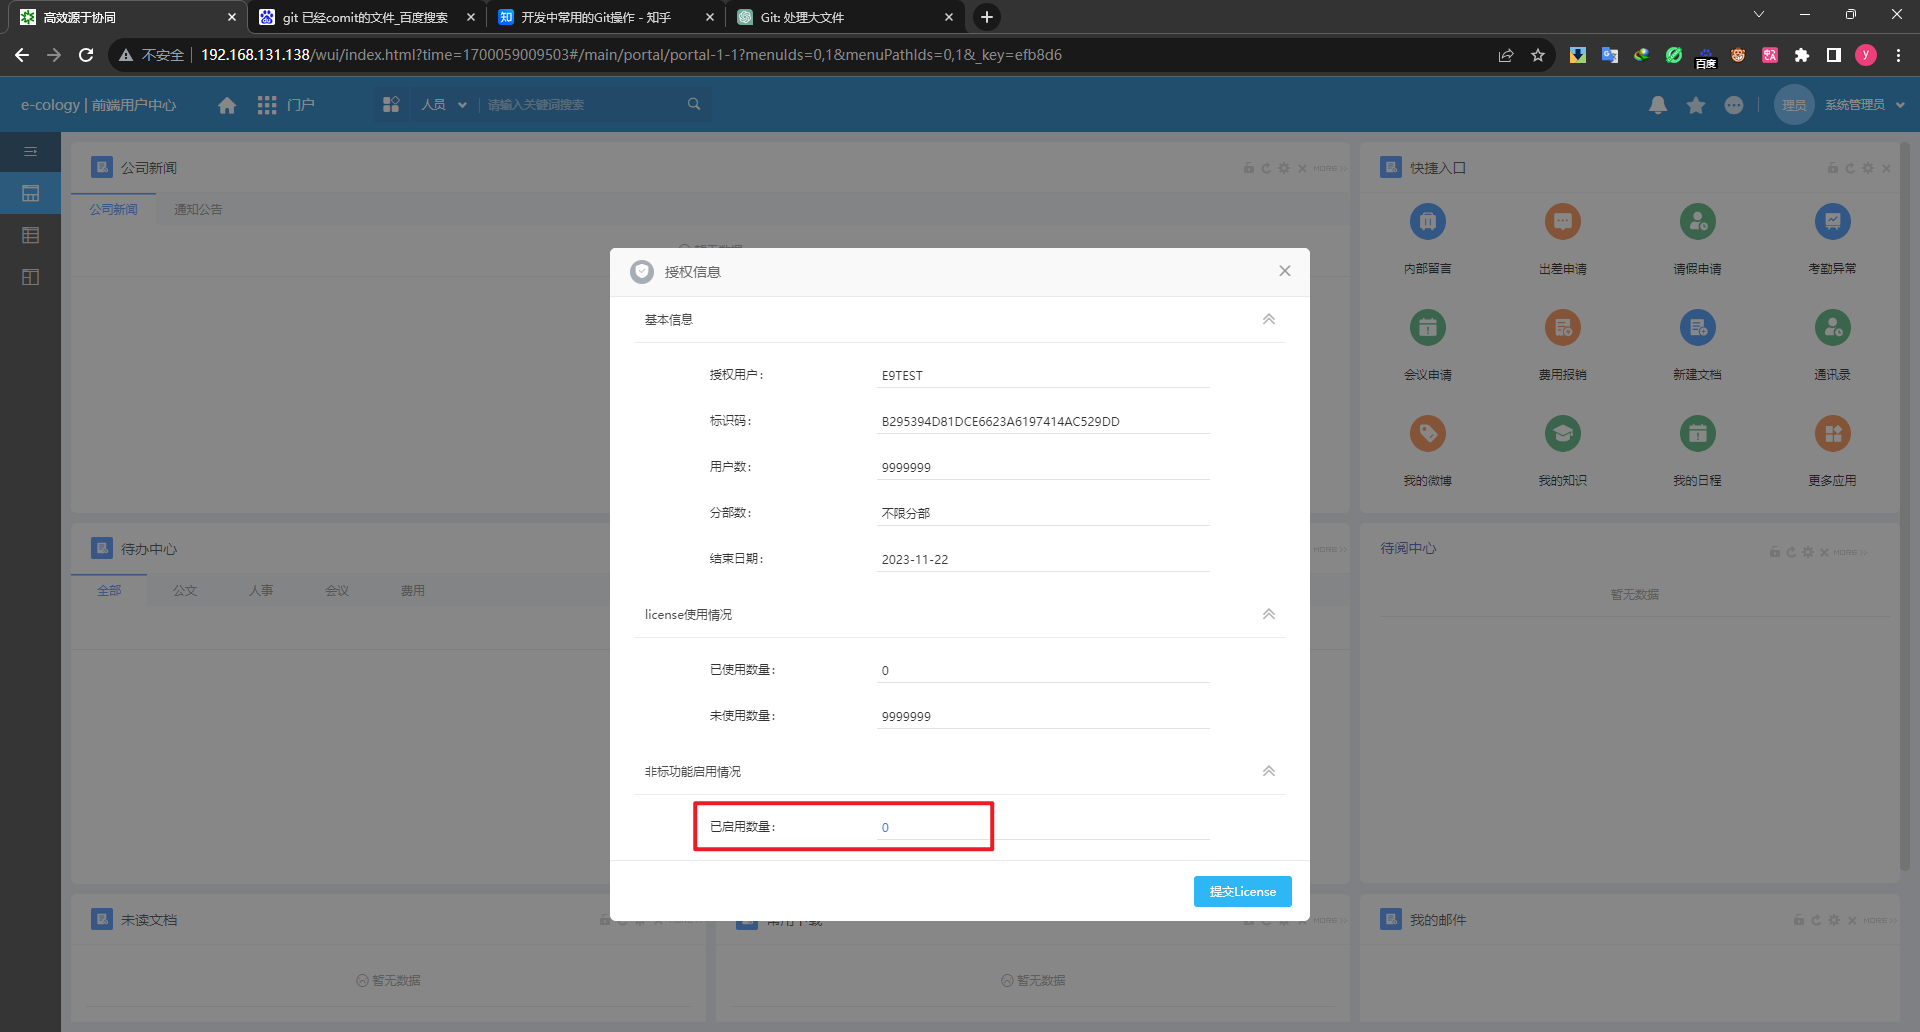
点击蓝色链接进入非标功能管理界面,勾选需要启用的非标进行启用
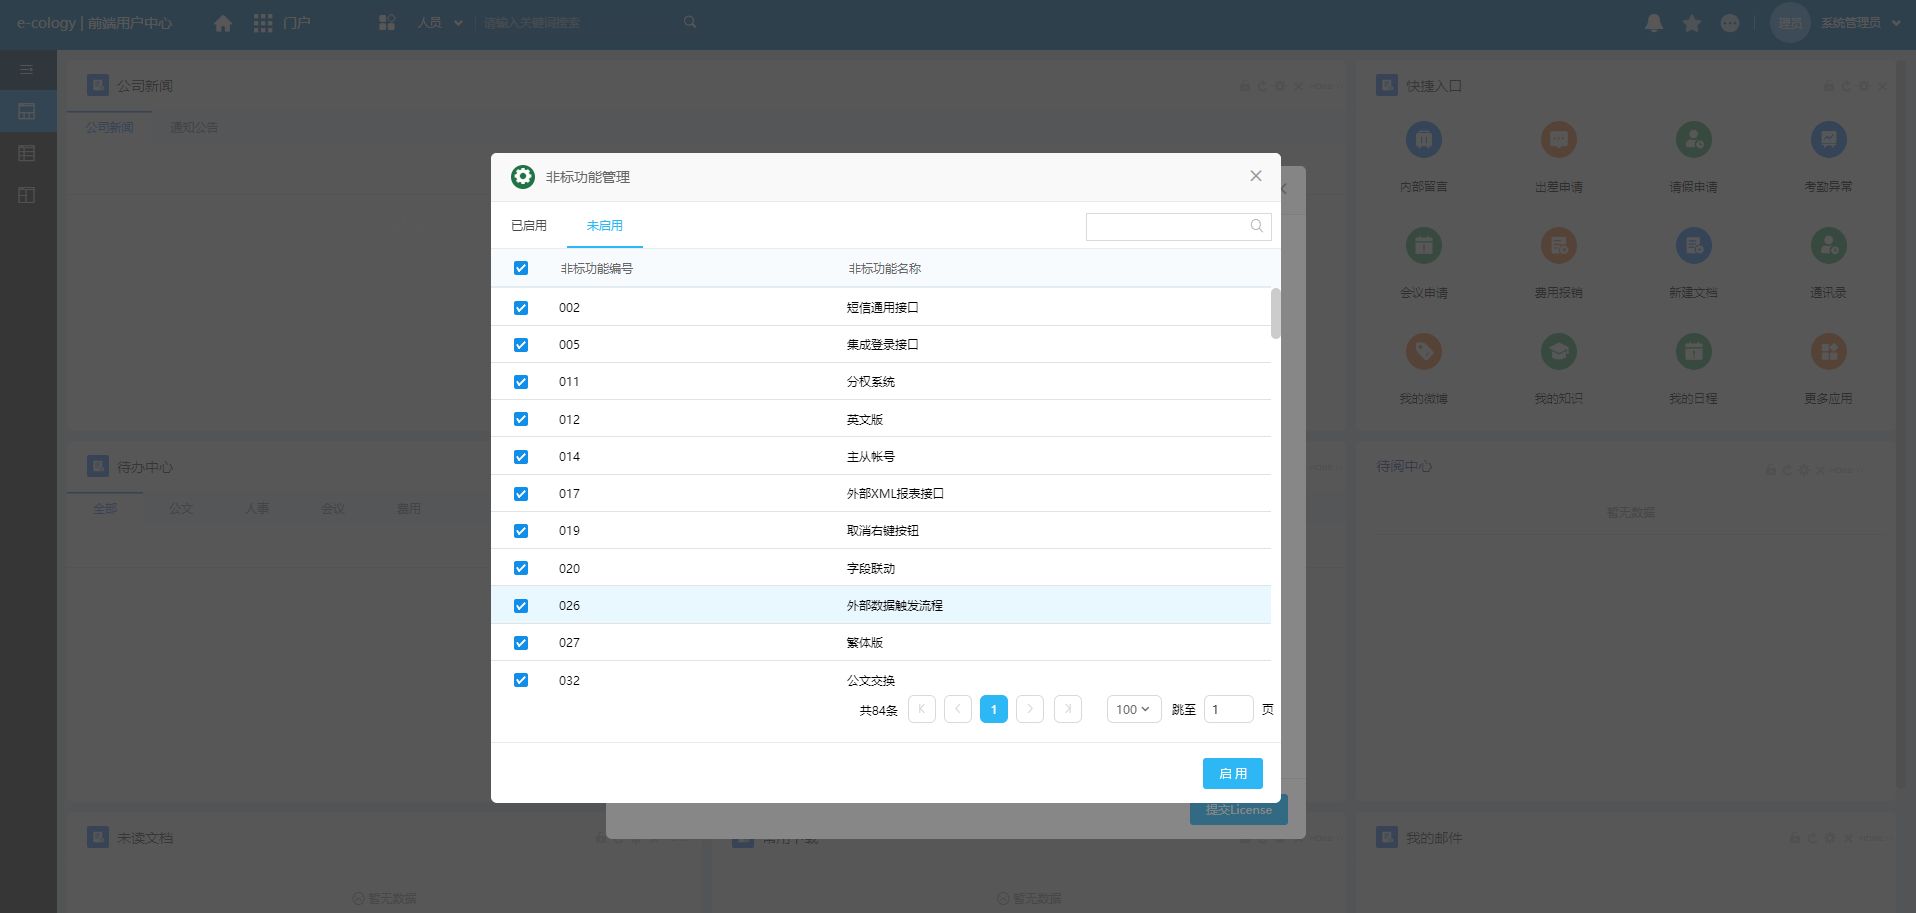
启用时会有相应提醒
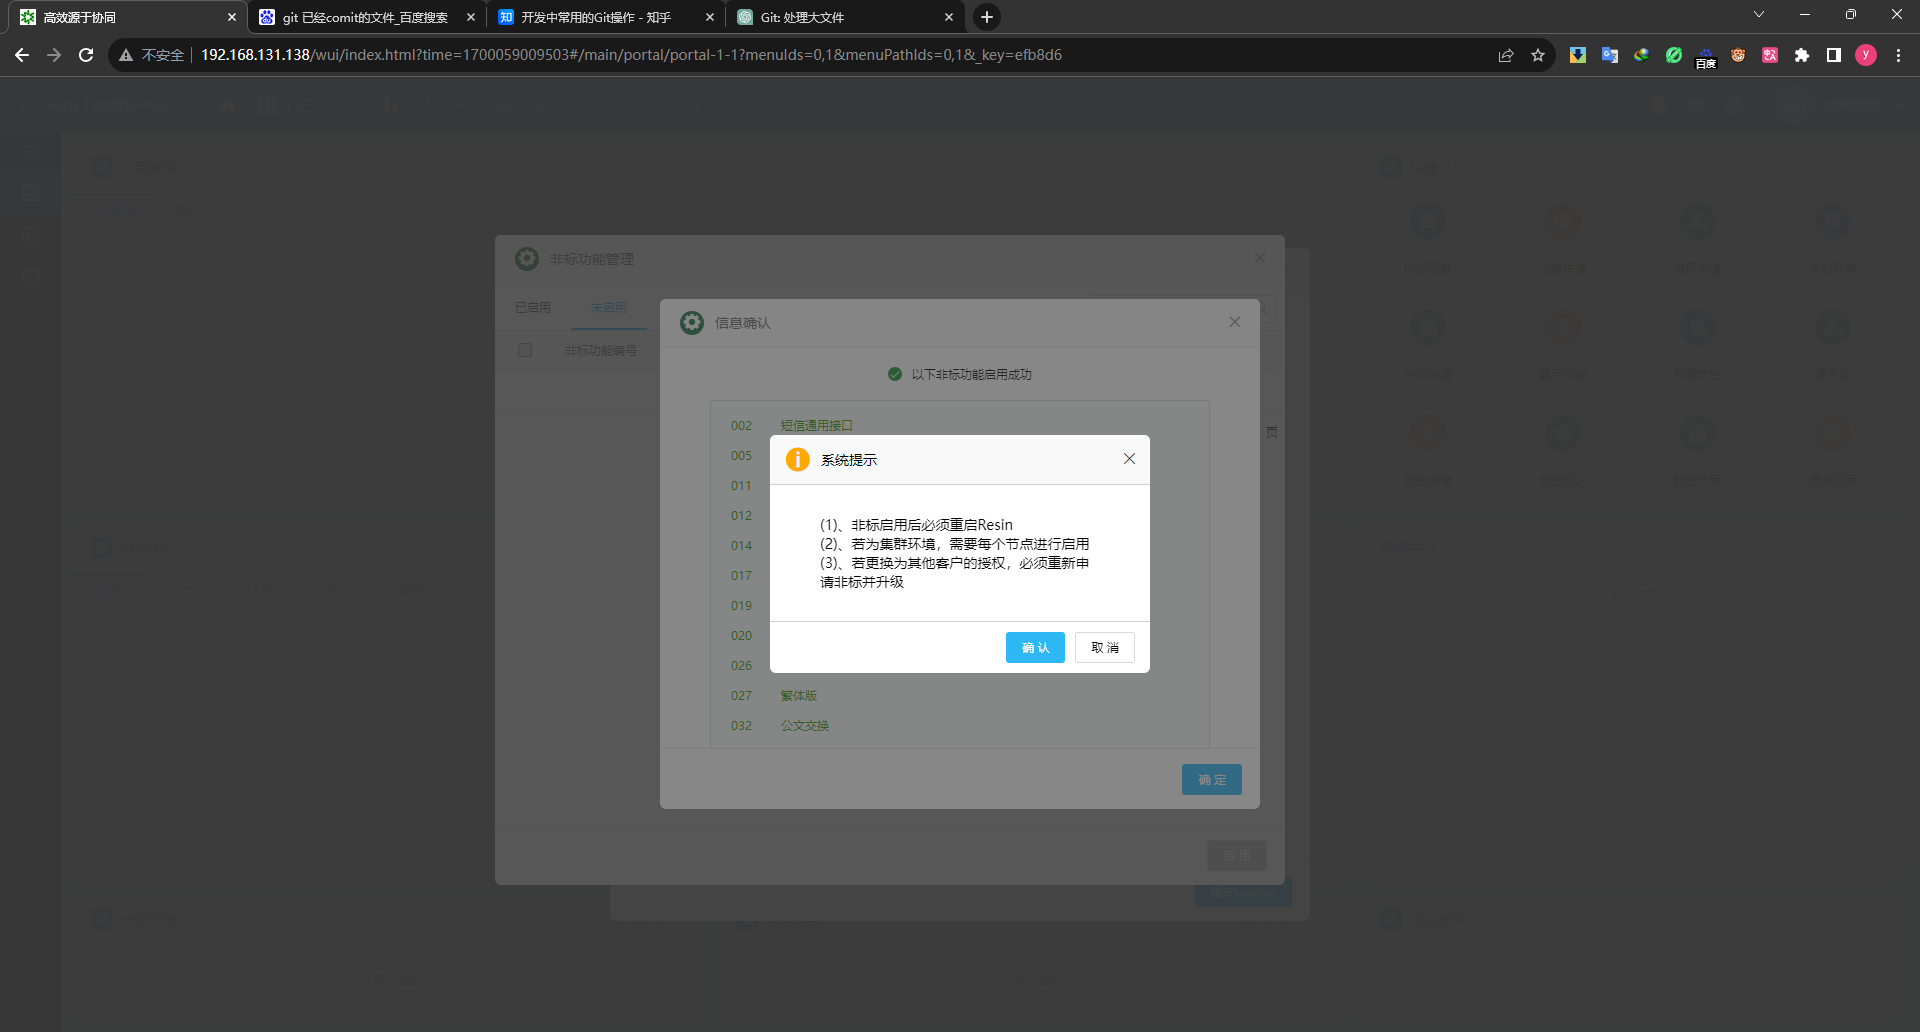
启用后可重新查看已启用数量确认