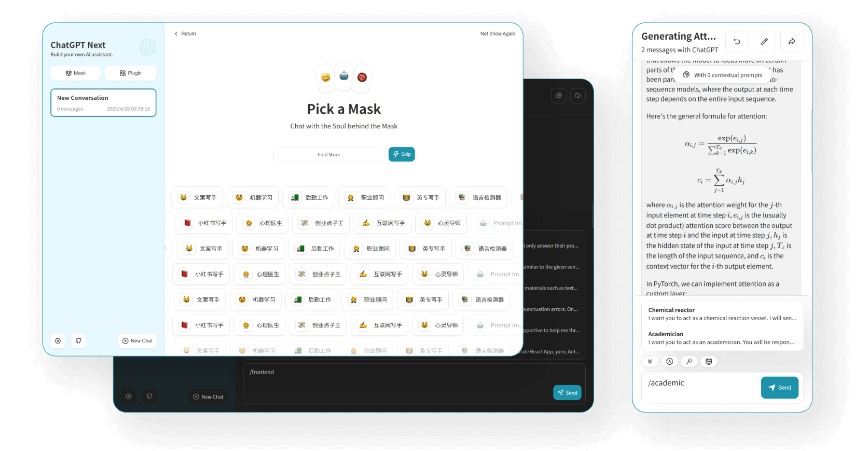
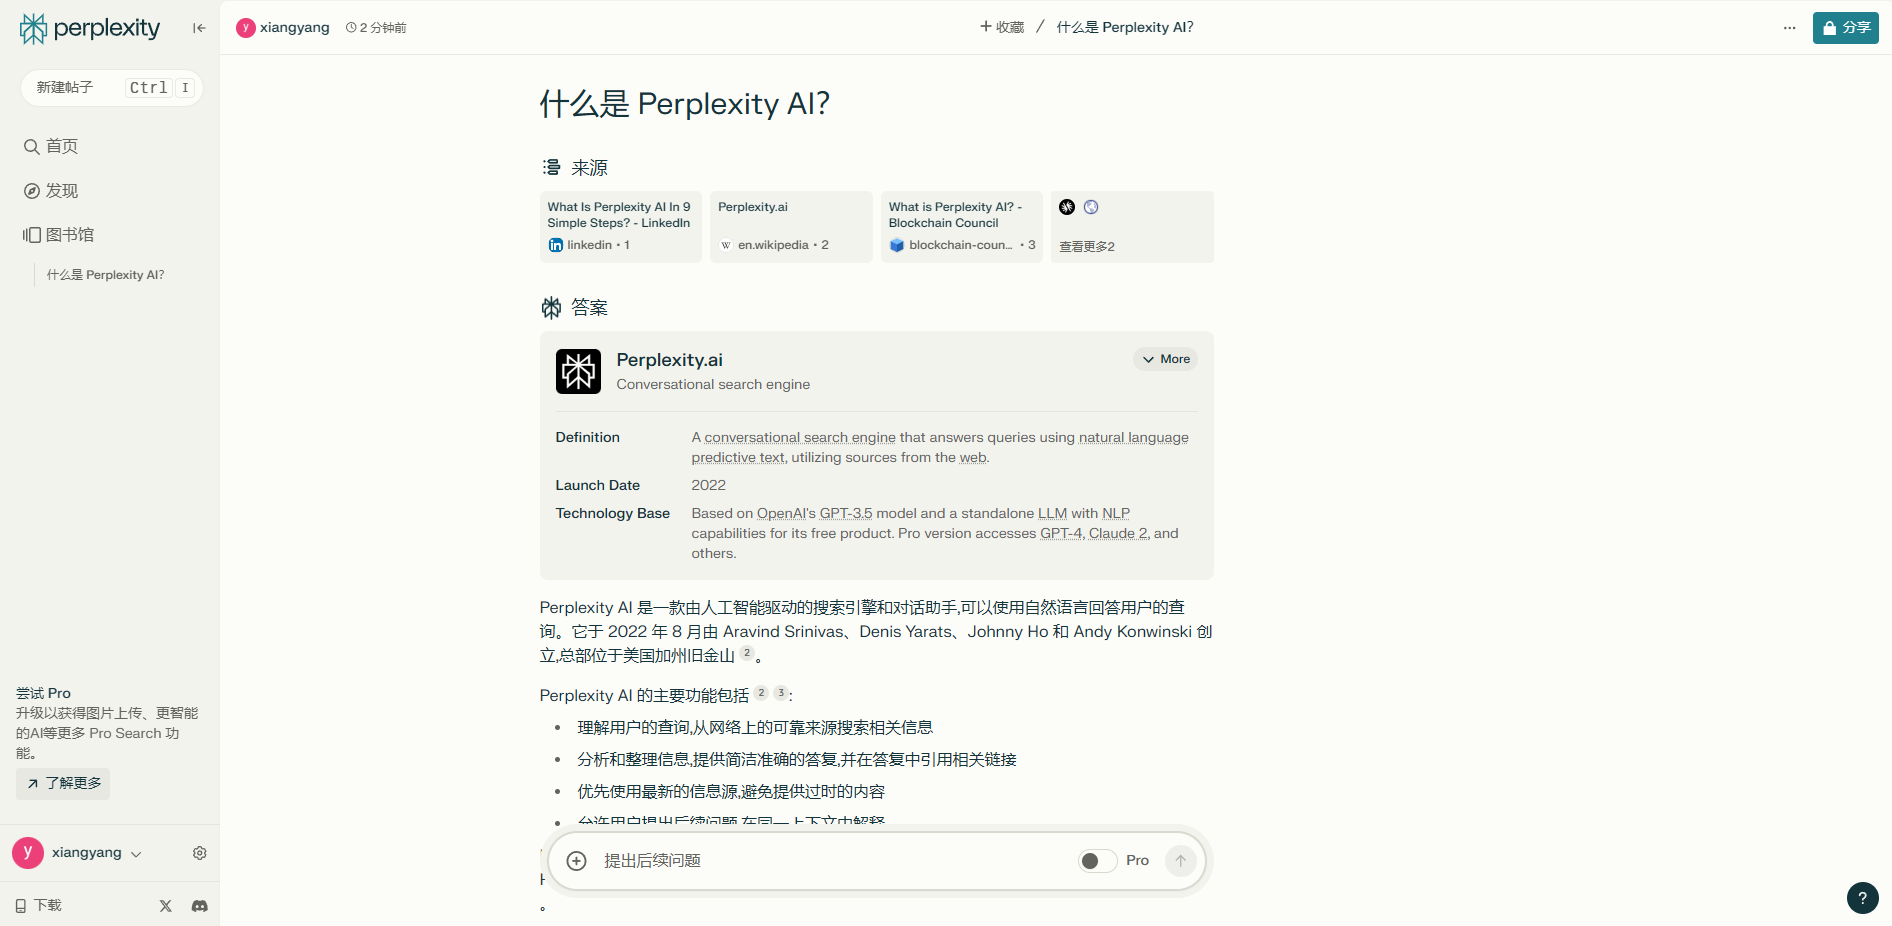
一、项目介绍
二、部署步骤
2.1 安装Docker
1
2
3
4
5
6
7
8
9
10
11
|
curl -fsSL https://get.docker.com | sh && ln -s /usr/libexec/docker/cli-plugins/docker-compose /usr/local/bin
service docker start
systemctl status docker
systemctl enable docker
|
2.2 创建相关目录
1
2
3
| mkdir -p /home/docker/PandoraNext/{data,sessions}
cd /home/docker/PandoraNext/data
|
2.3 下载必要文件
1
2
3
| wget https://raw.githubusercontent.com/kejilion/sh/main/PandoraNext/config.json
wget https://raw.githubusercontent.com/kejilion/sh/main/PandoraNext/tokens.json
|
若无法下载可手动创建文件
config.json
1
2
3
4
5
6
7
8
9
10
11
12
13
14
15
16
17
18
19
20
21
22
23
24
25
26
27
28
29
30
31
32
| {
"bind": "0.0.0.0:8181",
"tls": {
"enabled": false,
"cert_file": "",
"key_file": ""
},
"timeout": 600,
"proxy_url": "",
"license_id": "your_license_id",
"public_share": false,
"site_password": "",
"setup_password": "webgptpasswd",
"server_tokens": true,
"proxy_api_prefix": "",
"isolated_conv_title": "*",
"disable_signup": false,
"auto_conv_arkose": false,
"proxy_file_service": false,
"custom_doh_host": "",
"captcha": {
"provider": "",
"site_key": "",
"site_secret": "",
"site_login": false,
"setup_login": false,
"oai_username": false,
"oai_password": false,
"oai_signup": false
},
"whitelist": null
}
|
需修改 license_id 为自己的 licenseid,获取该license_id需用到github账号,账号注册时间越长每天可用对话越多
获取license_id

tokens.json
1
2
3
4
5
6
7
8
9
10
11
12
13
14
15
16
17
| {
"test-1": {
"token": "access token / session token / refresh token",
"shared": true,
"show_user_info": false
},
"test-2": {
"token": "access token / session token / refresh token",
"shared": true,
"show_user_info": true,
"plus": true
},
"test2": {
"token": "access token / session token / refresh token / share token / username & password",
"password": "12345"
}
}
|
2.4 Docker 一键部署
1
2
3
4
5
| docker run -d --restart always --name PandoraNext \
-p 8181:8181 \
-v /home/docker/PandoraNext/data:/data \
-v /home/docker/PandoraNext/sessions:/root/.cache/PandoraNext \
pengzhile/pandora-next
|
参考
潘多拉GPT搭建方法 国内访问ChatGPT


