【Hexo】鱼塘朋友圈部署全攻略
【Hexo】鱼塘朋友圈部署全攻略
時光一、介绍
- 轻量化:对比原版友链朋友圈的功能,该友圈功能简洁,去掉了设置和fastAPI的臃肿,仅保留关键内容。
- 无数据库:因为内容较少,我采用json直接存储文章信息,减少数据库操作,提升action运行效率。
- 部署简单:原版友链朋友圈由于功能多,导致部署较为麻烦,本方案仅需简单的部署action即可使用,vercel
- 用于部署前端静态页面和实时获取最新内容。
- 文件占用:对比原版4MB的bundle.js文件大小,本项目仅需要5.50KB的fclite.min.js文件即可轻量的展示到前端。
- 前端分离: 将前后端分离,前端文件放在page分支,后端文件放在主分支
二、实操
方案一
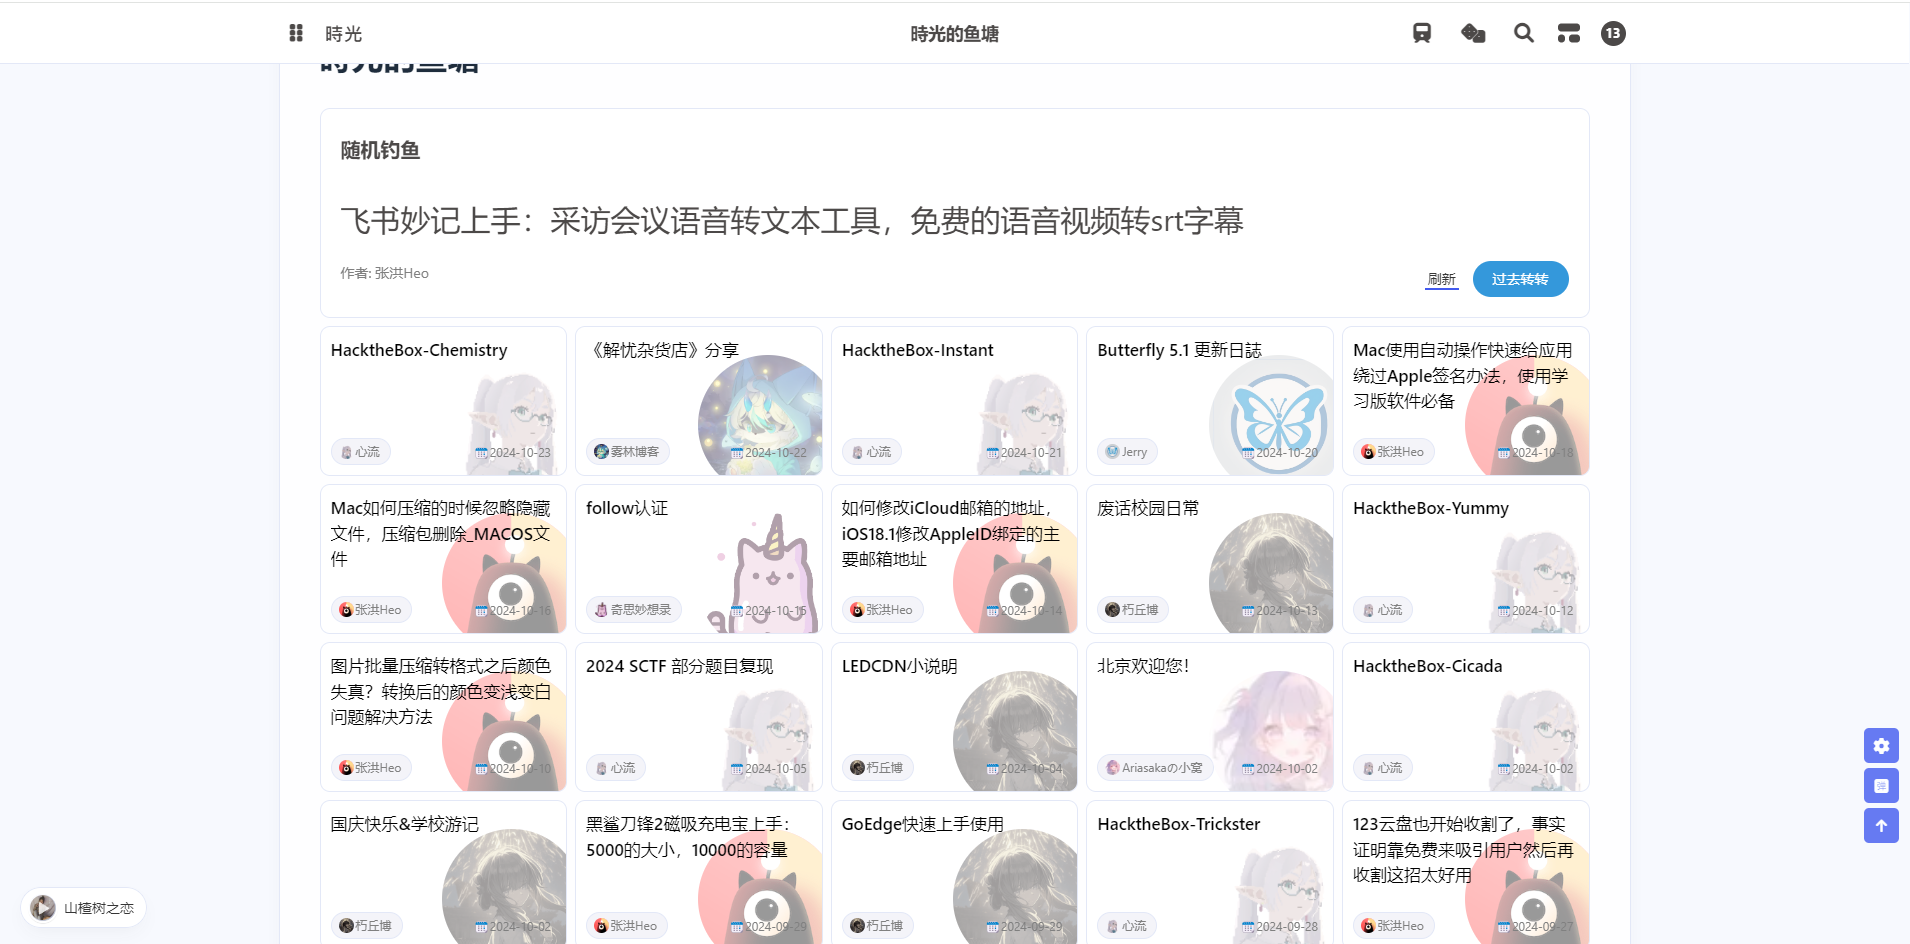
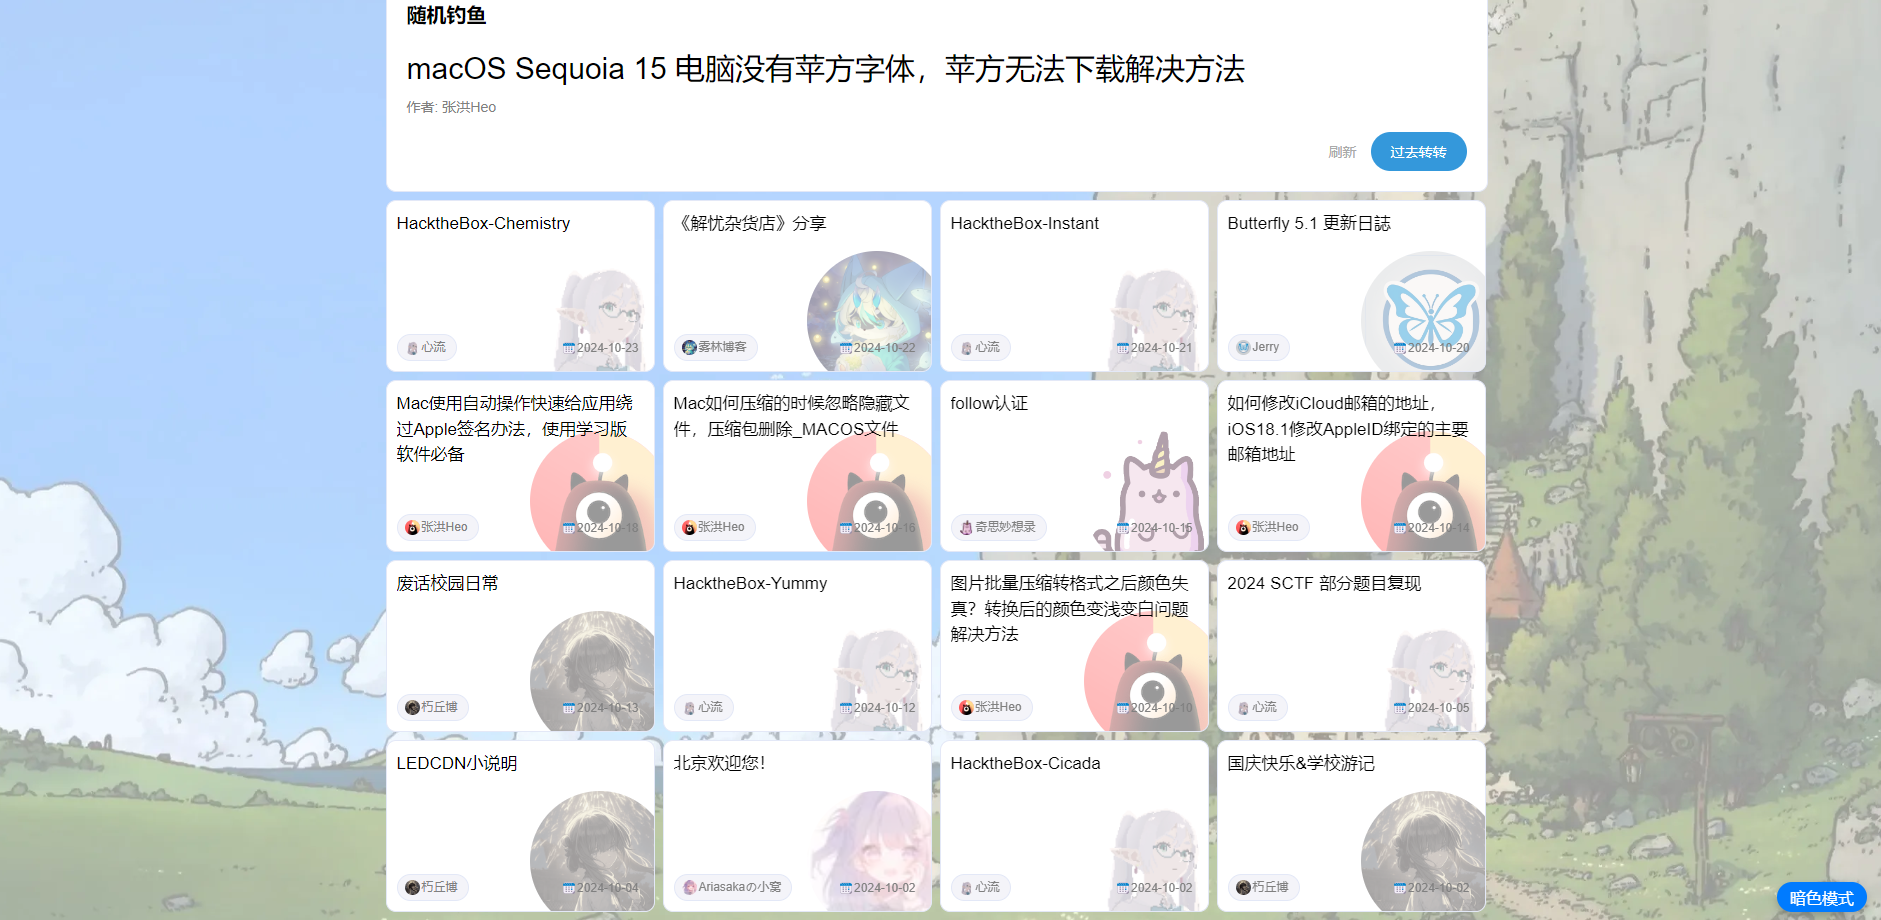
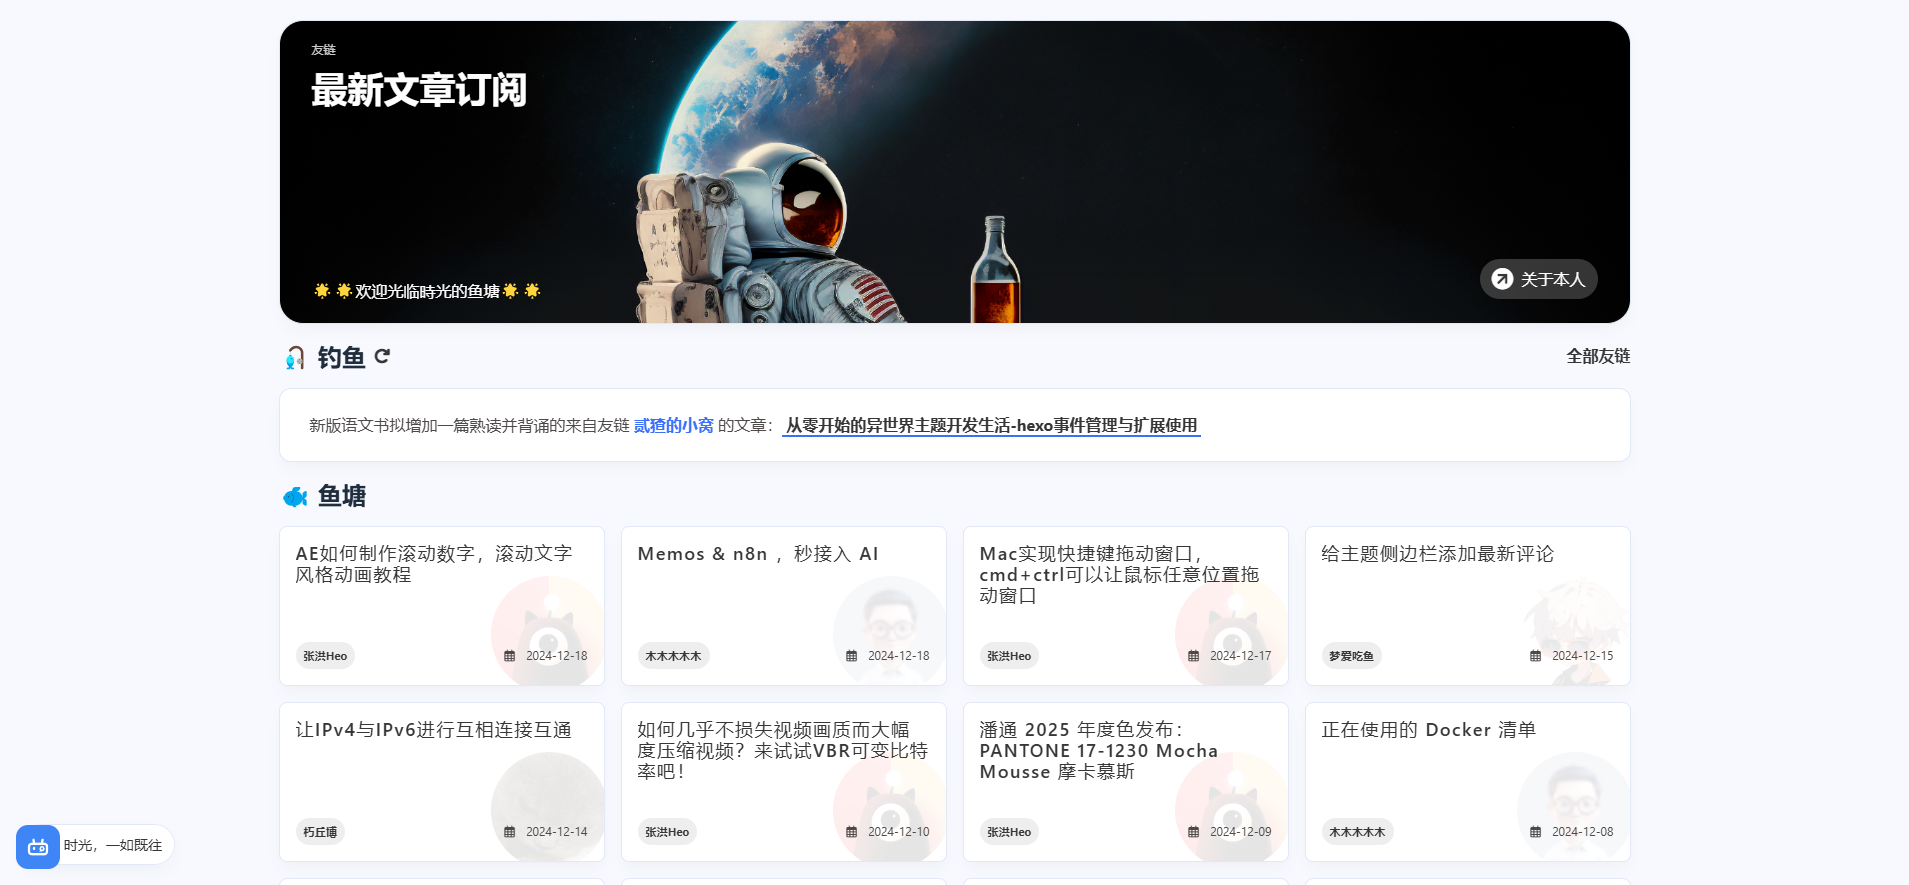
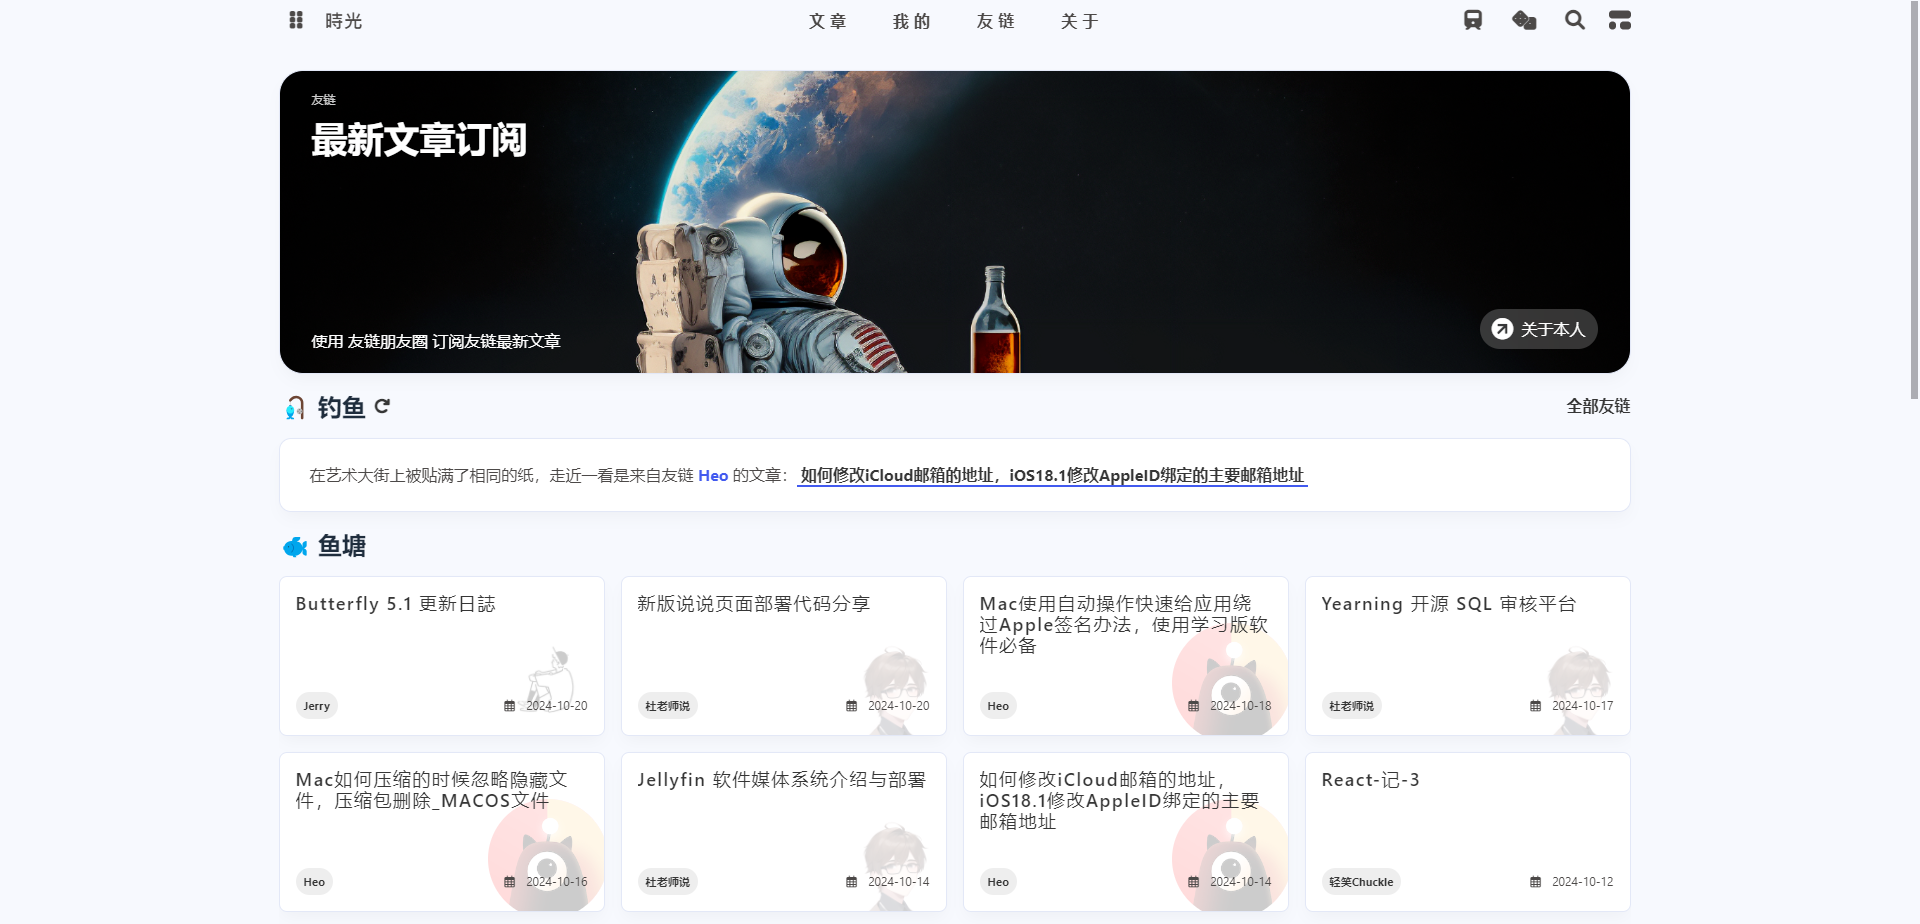
后端采用最新的 Friend-Circle-Lite 项目进行部署,效果如下:
前端
1、友圈json生成
在博客根目录创建link.js,复制下面的代码(原项目地址说明文档没有定义blacklist会执行出错)
1 | const YML = require('yamljs') |
在博客根目录下运行
1 | node link.js |
生成friend.json文件,可以把这个文件移动到一个你喜欢的目录,比如我放到了/api/friends目录下
2、创建新页面
创建一个新的页面,尽量不要和主题默认朋友圈页面页面相同,比如安知鱼主题默认页面为fcircle
此处我直接用之前创建好的页面flink
1 | hexo new page flink |
页面 Front-matter配置如下
1 |
|
继续粘贴以下内容:
1 | <div id="friend-circle-lite-root"></div> |
其中private_api_url是要修改后端服务地址,这里可以先不填注意尾部带/,不要遗漏。
执行命令三连部署一次,因为后面要用到friend.json文件
1 | hexo cl && hexo g && hexo d |
后端
这里我采用自部署使用方法
如果你有一台境内服务器,你也可以通过以下操作将其部署到你的服务器上,操作如下:
1、前置工作
确保你的服务器有定时任务 crontab 功能包,一般是linux自带,如果你没有宝塔等可以管理定时任务的面板工具,可能需要你自行了解定时工具并导入,本教程提供了简单的介绍。
2、克隆仓库
可以在本地下载好上传到云服务器
1 | git clone https://github.com/willow-god/Friend-Circle-Lite.git |
3、修改conf.yaml配置文件
设置spider_settings.json_url为你friend.json文件访问地址。
例如此处我的是:https://blog.shiguangdev.cn/api/friends/friend.json
1 | # 爬虫相关配置 |
另外可以修改article_count来限制每个友链最多获取文章数量,避免友链朋友圈展示的文章过于集中。
其他配置项不需要的话可以都改为false
4、安装依赖
下载服务相关包,其中 requirements-server.txt 是部署API服务所用包, requirements.txt 是抓取服务所用包,请均下载一遍。
1 | pip install -r ./requirements.txt |
5、部署服务
进入目录路径后直接运行deploy.sh脚本启动API服务:
1 | chmod +x ./deploy.sh |
我这里执行./deploy.sh时报了个错误
通常是由于脚本文件中包含了 Windows 样式的行尾符(CRLF),而 Linux/Unix 系统期望的是 Unix 样式的行尾符(LF)。这种情况下,^M 字符表示的是回车符(CR),它在 Linux 系统上是不可见的,并且会导致解释器无法正确识别。可以使用支持多种换行符格式的文本编辑器,如 VSCode、Sublime Text 或 Notepad++,打开文件并将其保存为 Unix 格式(LF),然后重新运行即可
其中的注释应该是较为详细的,如果部署成功你可以使用以下命令进行测试,如果获取到了首页html内容则成功:
1 | curl 127.0.0.1:1223 |
或者可以直接浏览器访问,将IP替换为服务器公网IP即可
这个端口号可以修改,在server.py最后一行修改数字即可,如果你想删除该API服务,可以使用ps找到对应进程并使用Kill命令杀死进程:
1 | ps aux | grep python |
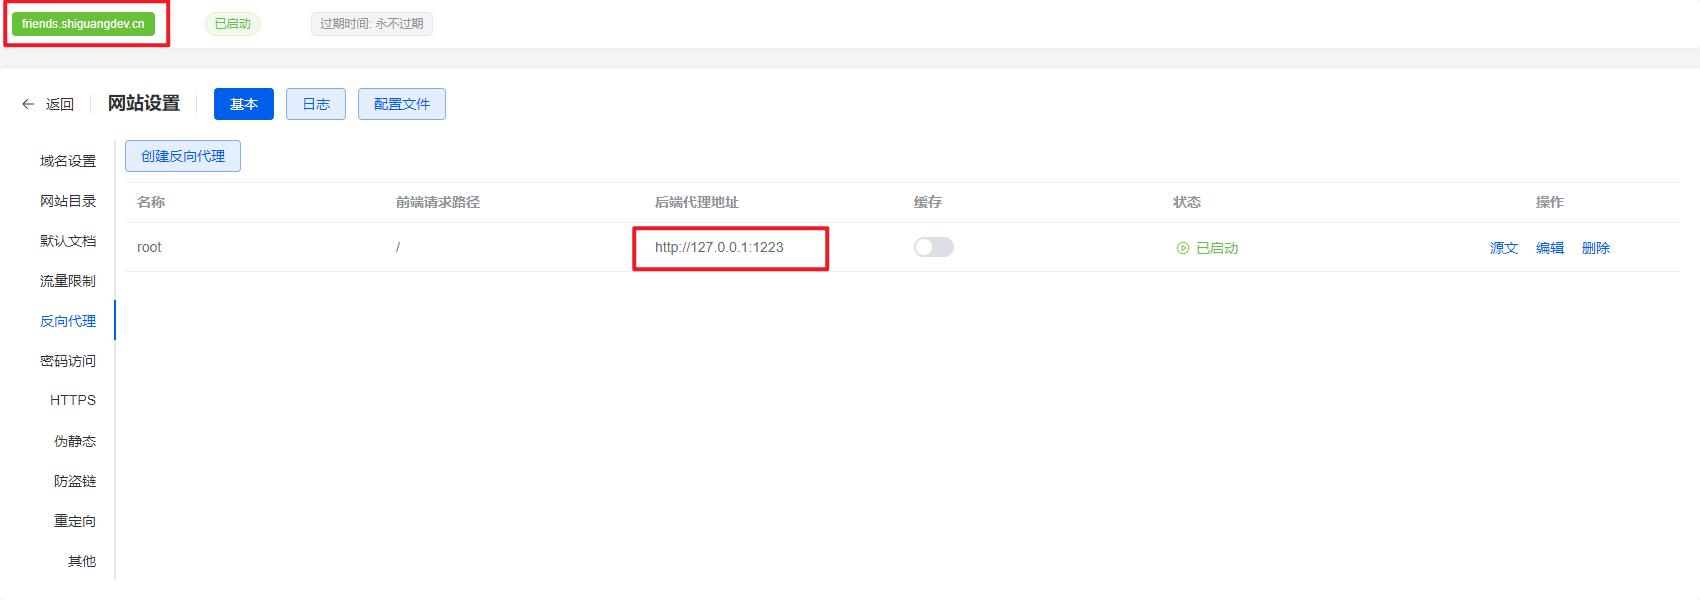
为了后面方便,可以再给当前服务配置反向代理,例如我代理到域名friends.shiguangdev.cn
我这里直接借助1Panel创建反向代理并配置域名证书了。
最后修改页面中的private_api_url为你的后端服务域名或公网ip即可。
本地直接访问http://localhost:4000/flink/进行预览
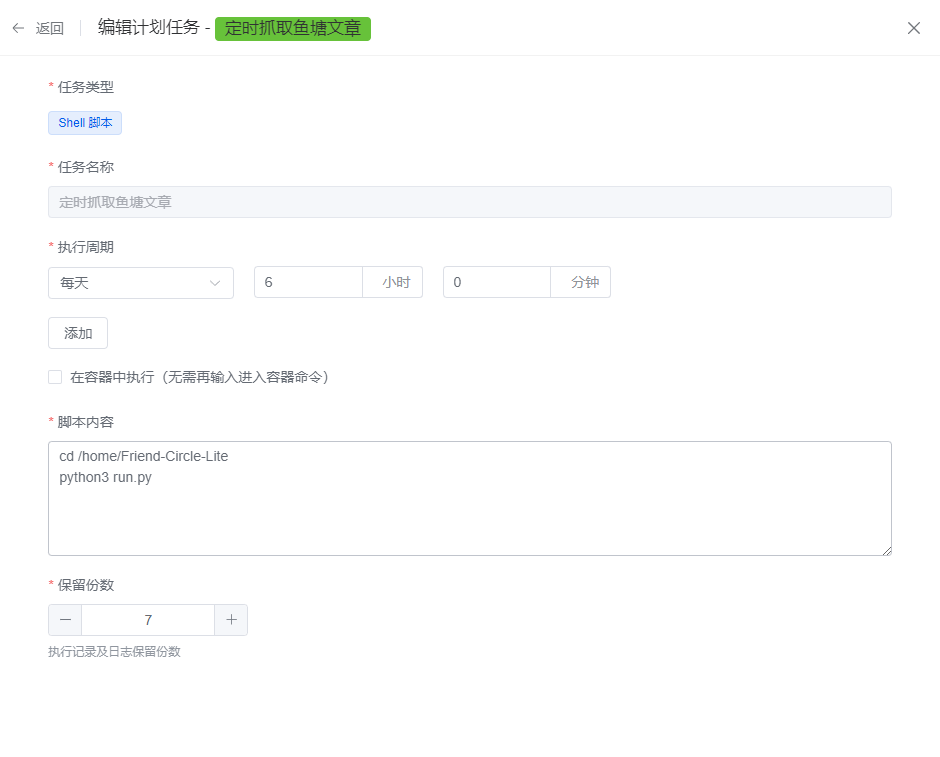
6、文章定时抓取
可以借助1Panel获取宝塔面板创建定时任务,实现文章定时抓取
7、配置服务开机自启动
systemd 是现代 Linux 发行版中常用的初始化系统。你可以创建一个自定义的 systemd 服务来启动你的脚本。
创建一个新的服务文件:
1
sudo nano /etc/systemd/system/friend-circle-lite.service
在文件中添加以下内容:
1
2
3
4
5
6
7
8
9
10
11
12[Unit]
Description=Friend Circle Lite Deployment Script
After=network.target
[Service]
ExecStart=/home/Friend-Circle-Lite/deploy.sh
WorkingDirectory=/home/Friend-Circle-Lite
User=your-username
Restart=always
[Install]
WantedBy=multi-user.target将
WorkingDirectory和ExecStart替换为工作目录和启动脚本所在目录,将your-username替换为实际的用户名。按
Ctrl + X,然后按Y保存文件并退出编辑器。重新加载
systemd配置:1
sudo systemctl daemon-reload
启用服务以在开机时启动:
1
sudo systemctl enable friend-circle-lite.service
启动服务:
1
sudo systemctl start friend-circle-lite.service
方案二
样式一:
样式二:
后端
后端建议采用Server部署,采用Docker部署无法修改默认配置路径地址(试了很多次,都采用的默认配置)
首先请确保你的服务器安装好docker和git,如果未安装可参考如何安装docker和如何安装git
1、克隆仓库
clone项目仓库,地址:https://github.com/Rock-Candy-Tea/hexo-circle-of-friends
2、修改配置
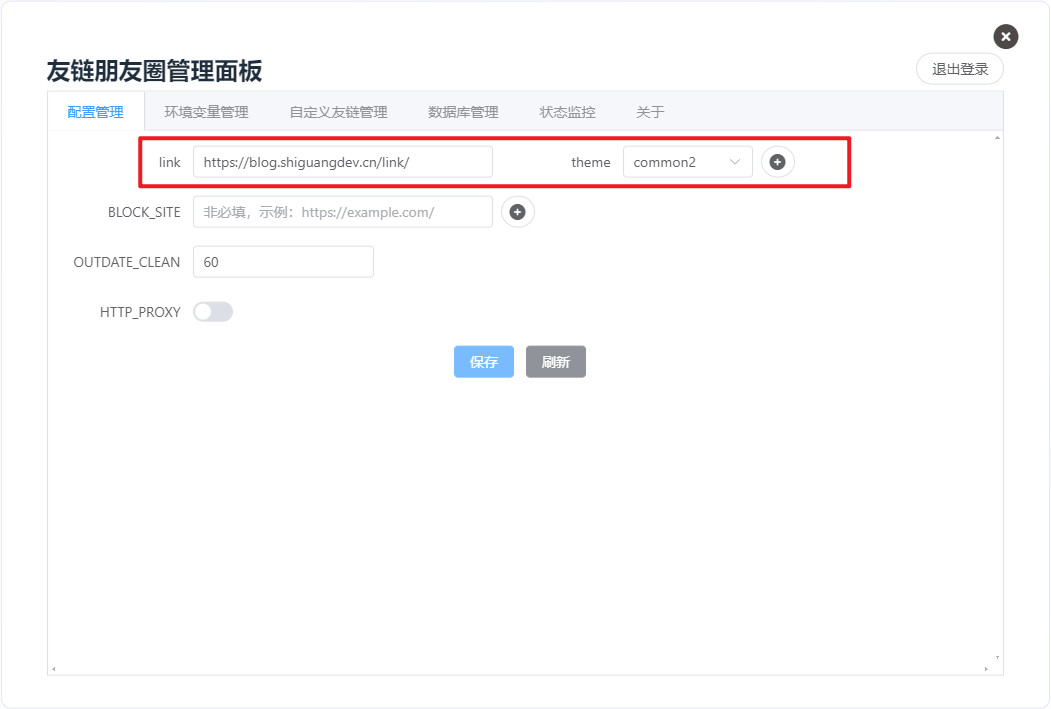
修改配置文件中的友链地址:hexo_circle_of_friends/fc_settings.yaml
注意,theme根据你实际用到的主题尽心配置,我使用的安知鱼主题,采用默认配置common2
1 | # 友链页地址 |
修改每个友链最多获取文章数量,避免友链朋友圈展示的文章过于集中。
1 | # 每个友链最多获取几篇文章,此值越大,则抓取的文章上限越多,相应地运行速度也会降低,反之亦然 |
3、安装依赖
1 | pip install -r ./requirements.txt |
4、部署服务
然后运行位于项目根目录的部署脚本:
1 | python3 deploy.py |
选择docker--->部署,选择1、Server进行部署,等待运行完毕即可。
尝试访问API:
1 | curl 127.0.0.1:8000/all |
出现数据即为部署成功。
接下来,开放服务器的对应端口,就可以通过IP:端口或者域名:端口访问到API,前端需要的就是这个地址。
直接访问这个地址是没有数据的
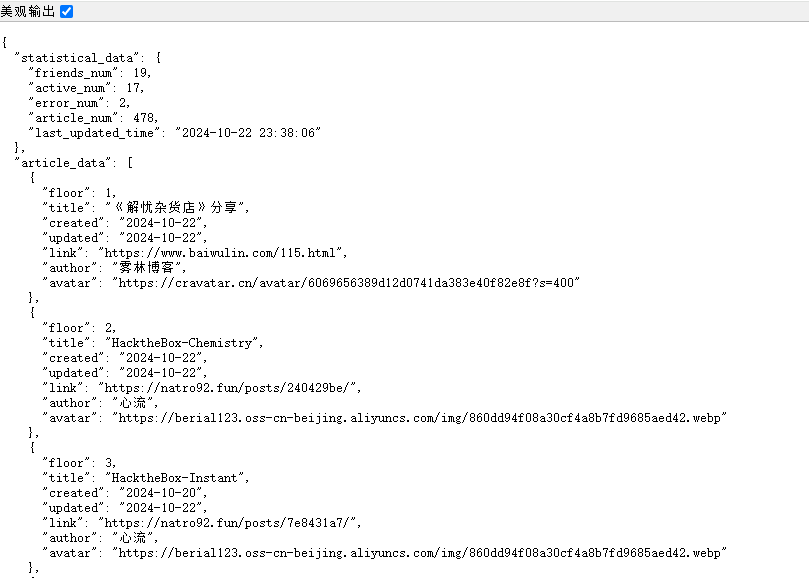
访问/all可以查看所有数据
访问/randompost随机获取一篇文章数据
使用如下命令查看日志
1 | cat /tmp/crawler.log |
最后配置下反向代理
5、配置服务开机自启动
为了在启动脚本中处理需要两次确认的步骤,你可以使用 Expect 脚本来自动化输入。Expect 是一个用于自动化交互式应用程序的工具,可以模拟用户输入。
首先,确保系统上安装了 Expect:
1 | sudo apt-get install expect |
然后,创建一个 Expect 脚本来处理确认步骤。创建一个名为 start_hexo_friends.exp 的 Expect 脚本:
1 |
|
将上述脚本保存为 /home/hexo-circle-of-friends/start_hexo_friends.exp,并赋予执行权限:
1 | chmod +x /home/hexo-circle-of-friends/start_hexo_friends.exp |
接下来,修改你的 systemd 服务单元文件,使用 Expect 脚本来启动服务:
1 | sudo nano /etc/systemd/system/hexo-circle-of-friends.service |
在打开的文件中,输入以下内容:
1 | [Unit] |
替换ExecStart中的启动文件路径,将 your-username 和 your-groupname 替换为你实际使用的用户名和组名。如果你不确定,可以使用 whoami 命令查看当前用户名,使用 id -gn 查看当前用户的组名。
按 Ctrl + X,然后按 Y 保存文件并退出编辑器。
运行以下命令以重新加载 systemd 配置,使新的服务文件生效:
1 | sudo systemctl daemon-reload |
启用服务以确保它在开机时自动启动:
1 | sudo systemctl enable hexo-circle-of-friends.service |
立即启动服务:
1 | sudo systemctl start hexo-circle-of-friends.service |
调试 Expect 脚本:
如果服务仍然无法正常运行,可以手动运行 Expect 脚本并启用调试模式,查看详细的匹配过程:
1 | expect -d /home/hexo-circle-of-friends/start_hexo_friends.exp |
根据调试输出,检查 expect 语句是否与 deploy.py 的实际输出完全匹配。如果提示信息有变化,可以调整 expect 语句中的字符串。
验证服务状态和日志:
使用以下命令查看服务状态和日志,确认是否正常运行:
1 | sudo systemctl status hexo-circle-of-friends.service |
脚本说明:
Expect脚本为了避免服务进入重启循环,我们需要调整
Expect脚本和 systemd 服务配置,确保服务在完成部署后不会退出。在Expect脚本中,使用sleep或while true保持脚本运行,而不是依赖interact。将while {1} { sleep 60 }添加到脚本末尾,使脚本在完成部署后保持运行。systemd 服务文件
将 Restart 配置改为 Restart=on-failure,避免服务在正常退出后重启
前端
样式一:适配安知鱼主题
由于我使用的是安知鱼主题,所以我这里直接参考安知鱼的教程了。
1、创建朋友圈页面
在 Hexo 博客根目录 [blog]下打开终端,输入
1 | hexo new page fcircle |
打开[blog]\source\fcircle\index.md,添加一行type: "fcircle":
1 | --- |
2、生成js文件
将https://npm.elemecdn.com/anzhiyu-blog-static@1.0.0/js/friends_vue/index.js保存到一个js文件,将中的 url替换为您的后端 url
将js文件放到博客某个目录或者上传到代码托管平台,此处我直接放到/api/friends/friends_front.js
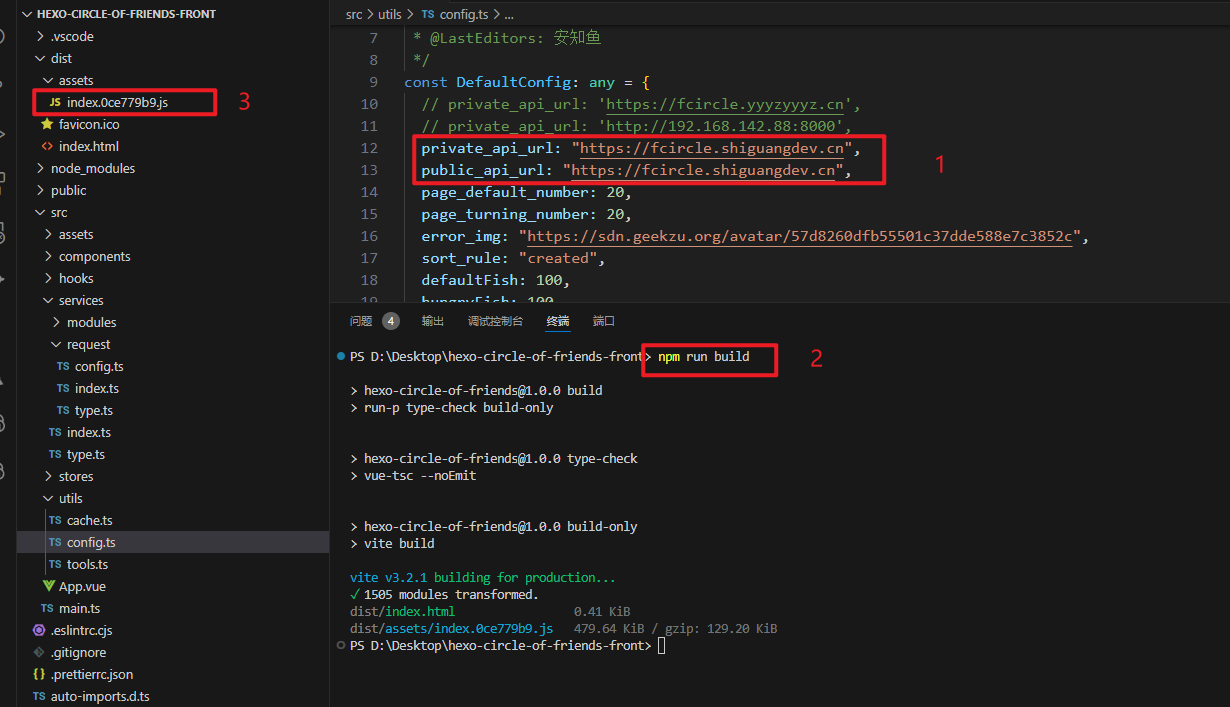
也可以下载前端项目:hexo-circle-of-friends-front到本地,修改代码中src/utils/config.ts的 url 变量路径,改为你自己的,然后执行npm run build构建后将dist文件夹中的js粘贴到你的js文件中
3、启用朋友圈功能
主题配置文件中开启menu中友链和朋友圈的注释,导航栏朋友圈,注意缩进!!!
1 | menu: |
主题配置文件中开启friends_vue.enable
1 | # 朋友圈配置 |
| 参数 | 备选值/类型 | 解释 |
|---|---|---|
| enable | boolean | 【必须】是否启用 |
| vue_js | url | 【必须】朋友圈前端构建后的 url |
| apiurl | string | 【必须】朋友圈后端 url |
| top_background | url | 【可选】朋友圈顶部背景图 |
4、访问并测试
执行三连命令
1 | hexo cl && hexo g && hexo s |
访问域名下的/fcircle即可看到效果
样式二
1、创建朋友圈页面
在 Hexo 博客根目录 [blog]下打开终端,输入
安知鱼主题不能与fcircle名称相同,例如我这里为flink
1 | hexo new page flink |
打开[blog]\source\flink\index.md,添加一行type: "flink":
1 | --- |
2、添加样式
[blog]\source\flink\index.md下面粘贴代码:
1 | <div id="hexo-circle-of-friends-root"></div> |
修改private_api_url为你的后端api地址,例如:https://fcircle.shiguangdev.cn/
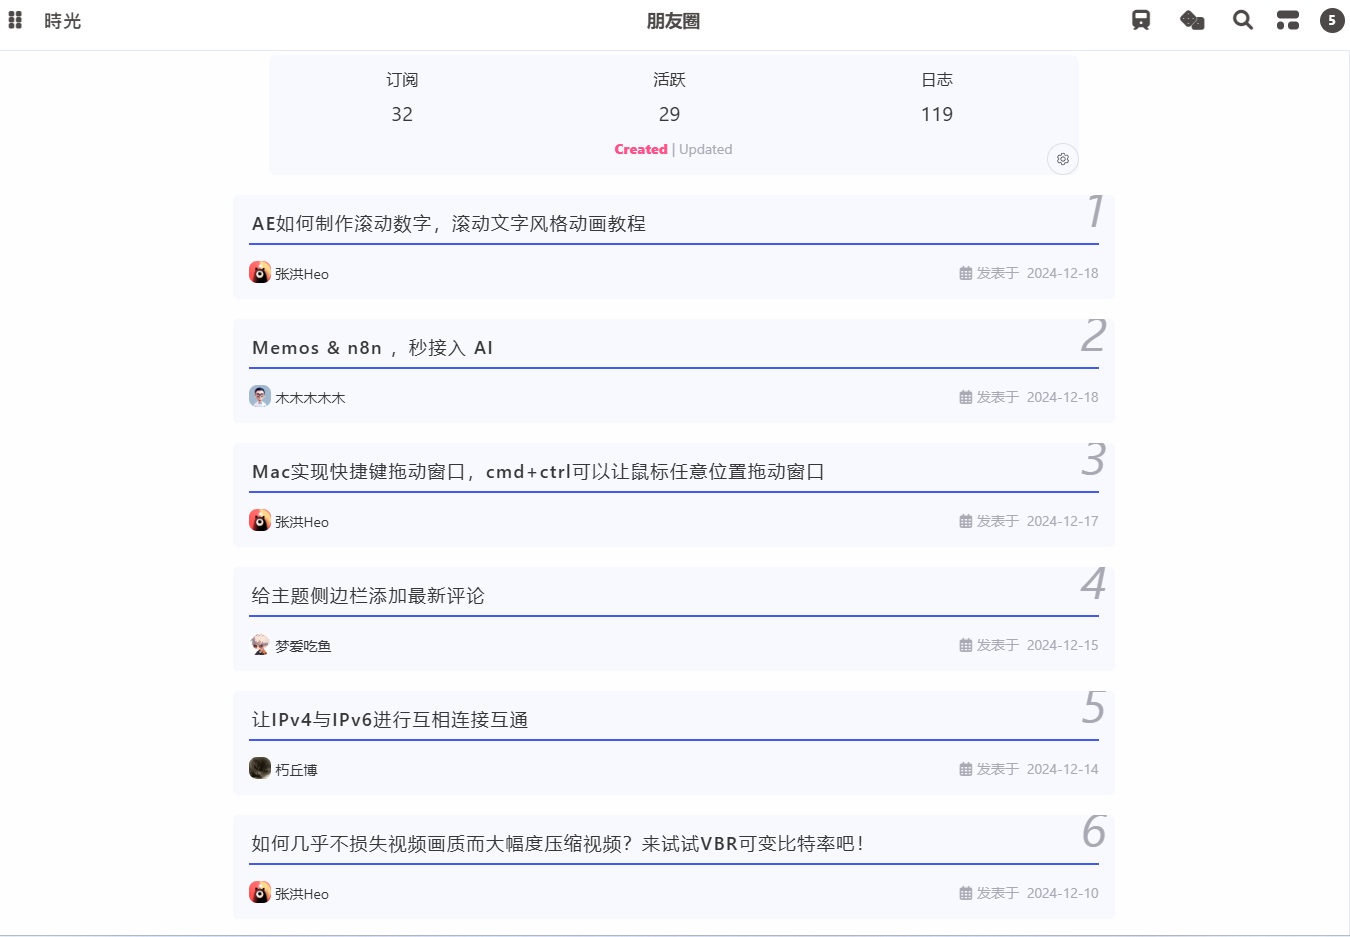
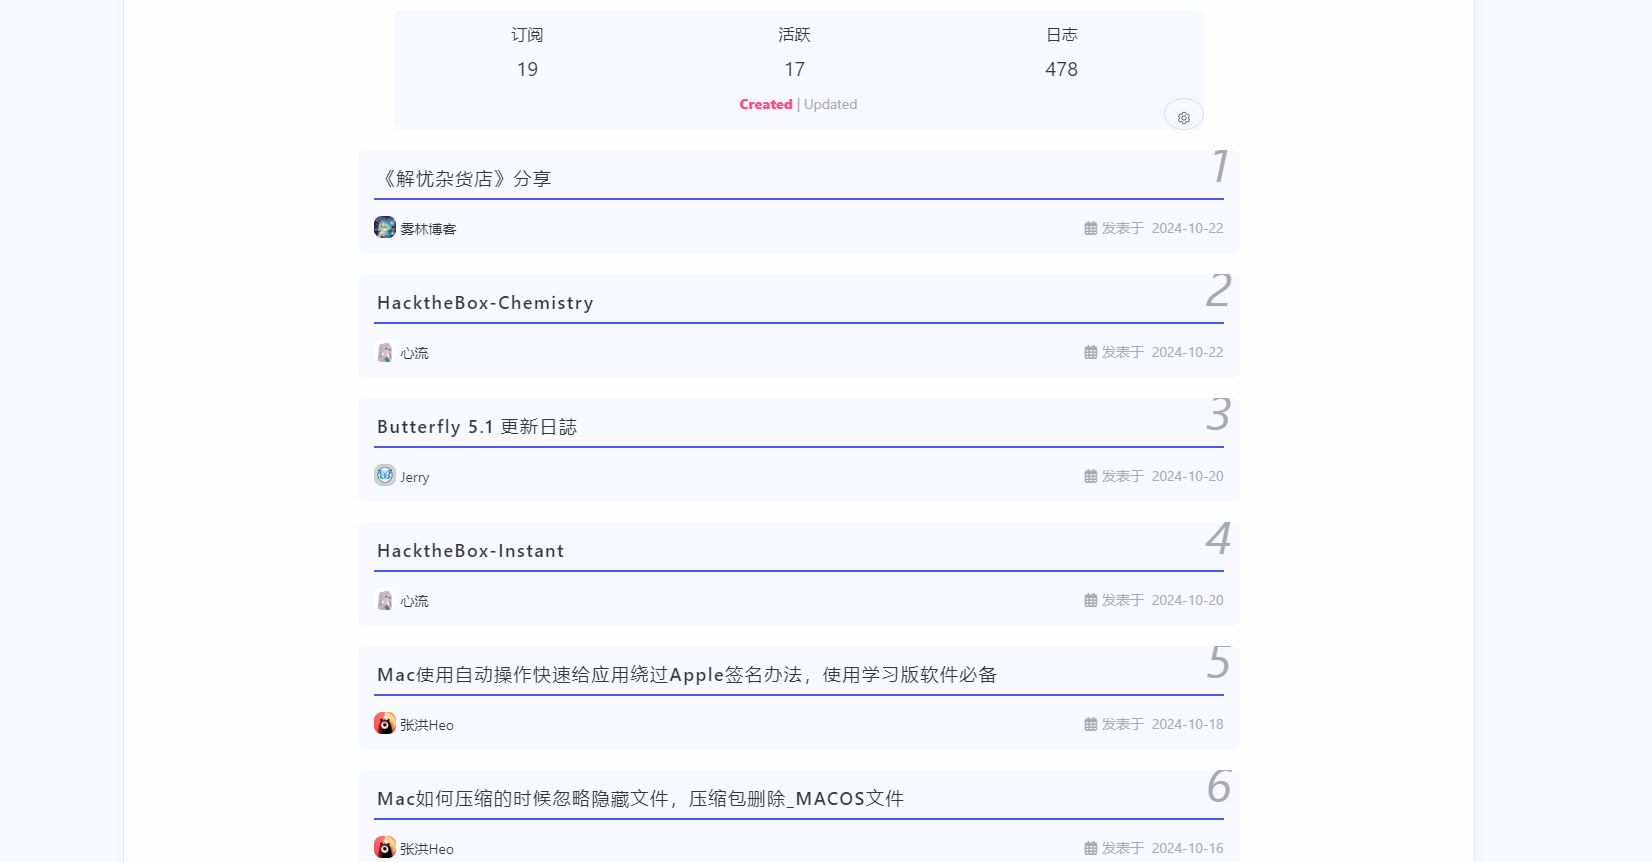
本地访问:http://localhost:4000/flink/进行预览,效果如下:
3、修改公共库请求地址
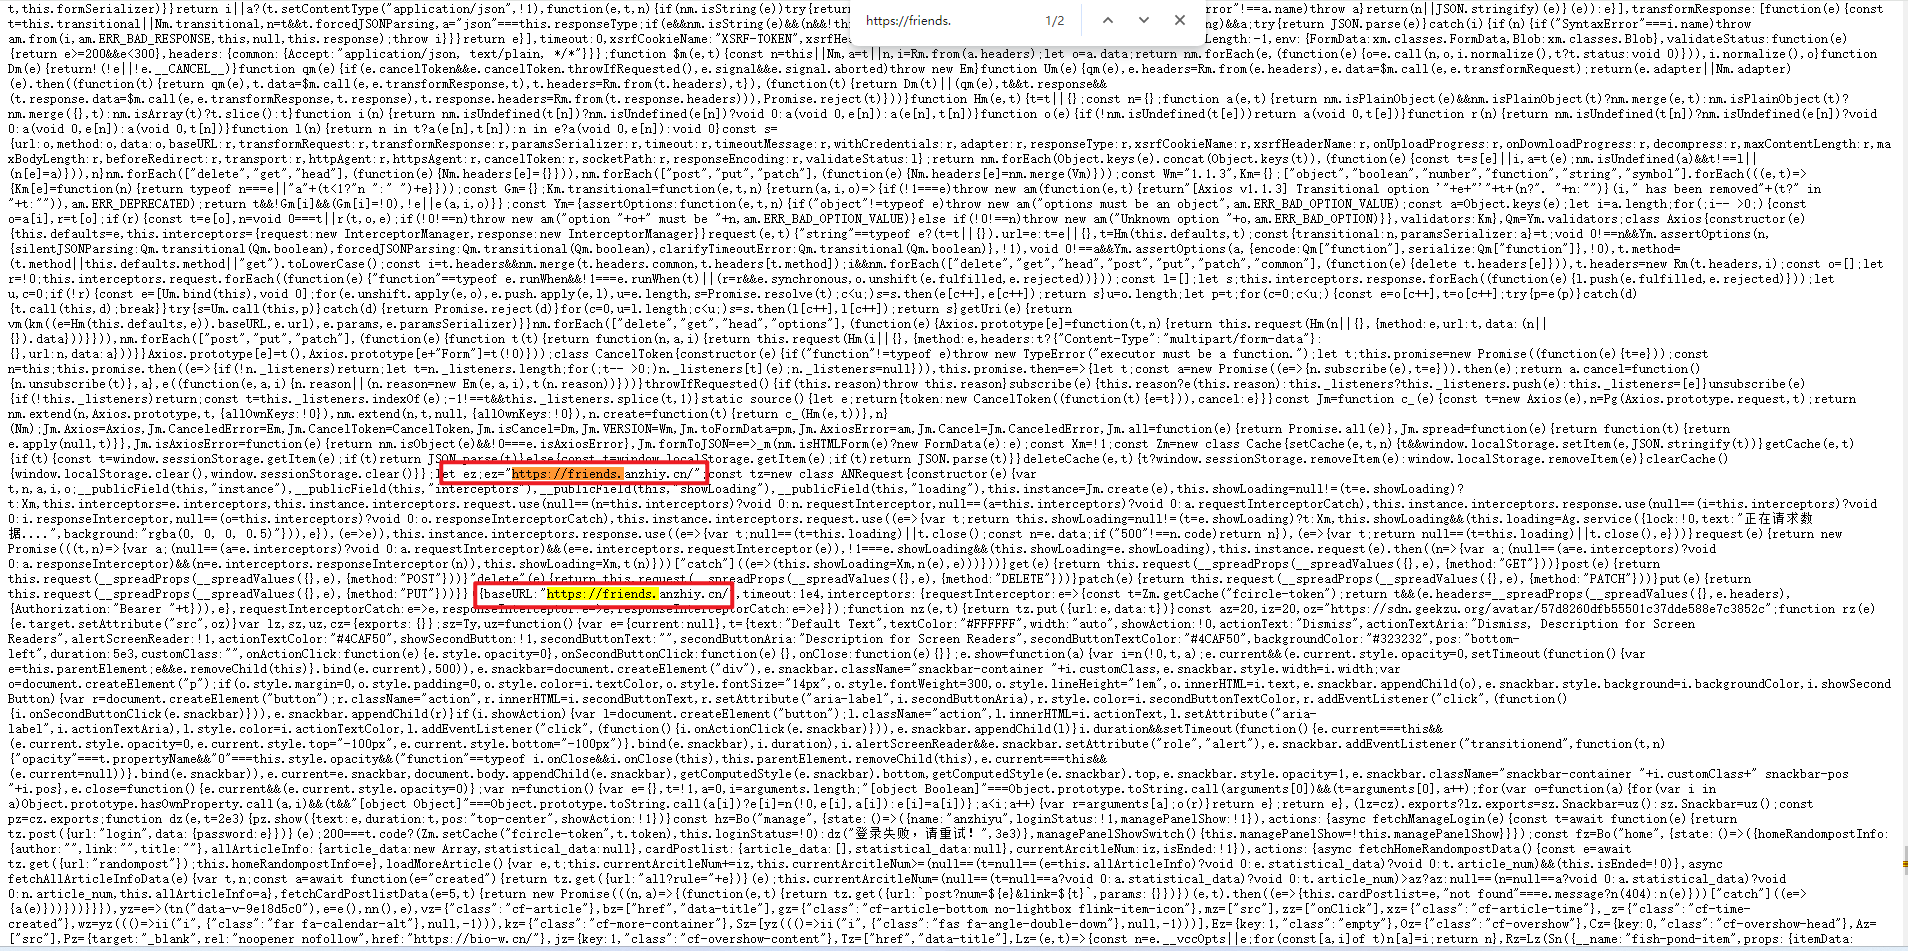
这里有个小问题,点击切换公共库时会调用后端开发者的接口,但是目前已经失效了,很影响体验感。
请求如下:
我们把调用地址改成自己的接口,把原来的js下载到本地
例如此处我放到: \blog\source\api\friends\fcircle.min.js
1 | <script type="text/javascript" src="https://npm.elemecdn.com/fcircle-theme-yyyz@1.0.13/dist/fcircle.min.js"></script> |
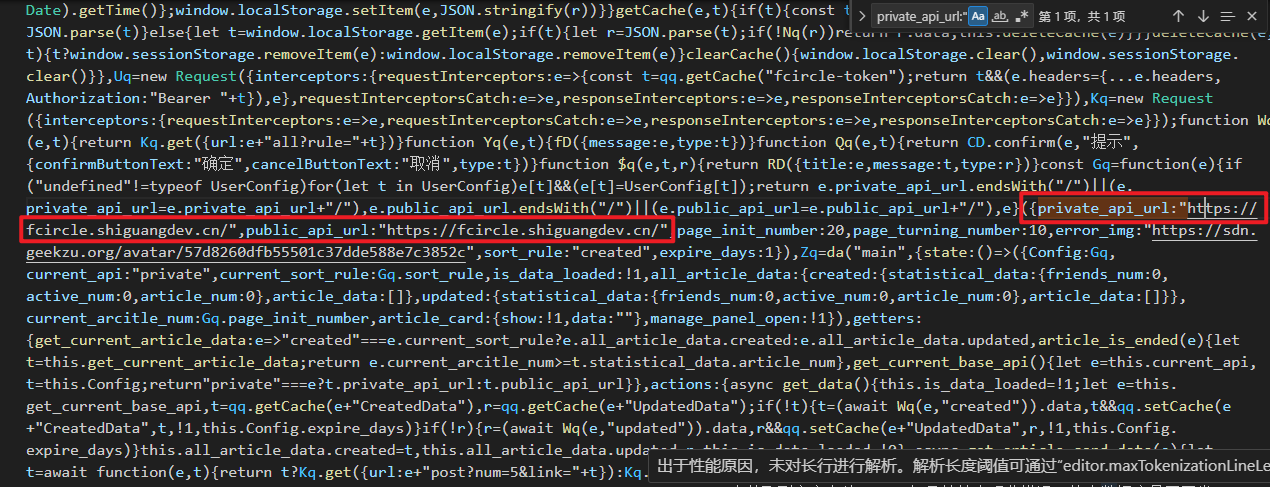
搜索并替换下面两个地址
1 | private_api_url:"http://127.0.0.1:8000/" |
如下:
然后把js路径改成我们自己的
1 | <script type="text/javascript" src="http://localhost:4000/api/friends/fcircle.min.js"></script> |
4、修改菜单地址
最后别忘了修改菜单地址
控制面板配置
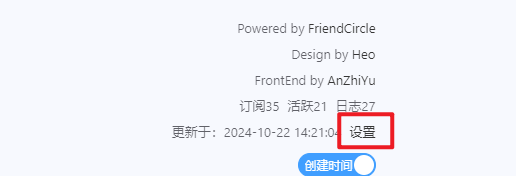
新版前端在顶部右下角卡片新增管理面板:
点击即可进入。第一次部署成功后,输入第一个密码的同时设置密码。
再次修改配置
前端改密码方式
友链朋友圈项目的前端第一次登录时即设置密码,如果想要改的话则需要自行删除数据库 auth、secret 表格。
进入服务器 hexo-circle-of-friends 根目录,找到 data.db 文件
1 | sqlite3 |
参考
